


26 November 2020
|

There are still some available too
To go with the Enter the Portal scenario in issue 449, you’ll need some finished figures so this is a guide on how to get your evil dwarfs ready to start looting and pillaging a hoard of gold!
ASSEMBLING THE ABYSSAL DWARF
For this guide, I’ll be assembling one of the free Blacksouls you’ve received with the magazine. The Abyssal Dwarfs can be built as Blacksouls with melee weapons, or Decimators with ranged weapons. These miniatures are made from hard plastic and so can be built using plastic glue or poly cement. Each piece is removed from the frame as needed with clippers and any mould lines removed with the back of a knife or a file.
For Blacksouls, it’s simply a case of choosing which weapon and shield arms you would like and glueing them into place, followed by the head. Although the arms are paired, there is no reason to stick to the pairs – make what looks cool! Some shields have been split off from their respective arms – look carefully at the lettering on the frame itself to let you know which parts go together.
Building Decimators is done in the same way, but this time you must stick to the paired arms for the pieces to fit together properly. Conveniently, they are all located on the frame in pairs already. It’s best to start with the arm holding the gun first, as this will fit in a specific way and dictate the position of the other arm.
If you are building a regiment for Kings of War, it helps to think about how you will base your miniatures. If you are using individual bases, they will need to rank up. I find the knack for this is to have the shields held to the front of the warrior, which the weapon arm is at the back, usually raised. Build each miniature for a specific place and dry fit pieces and check as you go. If you are gluing all of the miniatures down to a multi-base, this is less of a concern as you can use a few less models to give your burly dwarfs more space. In this case, I’ve superglued one foot to a temporary base for painting, so it can be easily removed and glued to its final location later.
PAINTING THE ABYSSAL DWARF
I will be using a selection of GW Citadel and Army Painter paints in this guide. The miniature was undercoated with Citadel Mechanicus Standard Grey Spray. Grey is a great neutral undercoat for most paint schemes and this is no exception.
Before we get started, there are a couple of things to bear in mind with the miniature. Firstly, I’ll mention this more than once: after finishing the metal areas, change your paint water and tidy up any non-metal areas with Citadel Mechanicus Standard Grey to give yourself a smooth base to work from.
As you progress, you’ll need to take more and more care to avoid painting over any finished areas of the miniature, but if you do make a mistake, just go back with a little of the basecoat for that area and you should be fine.
Finally, this scheme is suited to batch painting: painting multiple miniatures at once as a single batch. This is a great idea if you’re painting up a regiment for your Kings of War army. Simply complete the same step on every miniature before moving on to the next step.
THE METAL
Basecoat any areas that will be gold with Army Painter Plate Mail Metal. This will give us a strong undercoat for the gold, which can sometimes come out a bit thin. Basecoat the weapons and any other silver areas with Army Painter Gun Metal – this applies to Blacksouls’ melee weapons or Decimators’ blunderbusses.
Next, the gold areas are given a coat of Citadel Retributor Armour, completely covering the colour underneath.
Both the gold and silver areas are given two washes all over. Wait for these to dry complete between coats and before moving on. The first is Citadel Agrax Earthshade. Once this is dry, apply Citadel Athonian Camoshade. The first wash adds depth and warmth to the colours, while the second adds an aged look to them.
Drybrush both the gold and the silver with Army Painter Shining Silver. This will finish the metallic areas. (The illustration of the four arms – page bottom – shows this whole process in a linear, progressive fashion. Ed.)
Before moving on, it’s important to change your water, so that the excess metallic paint in there doesn’t contaminate it for other colours. It’s also useful to get some Citadel Mechanicus Standard Grey and re-apply it to any non-metal areas, so you have a smooth base for the remaining colours.
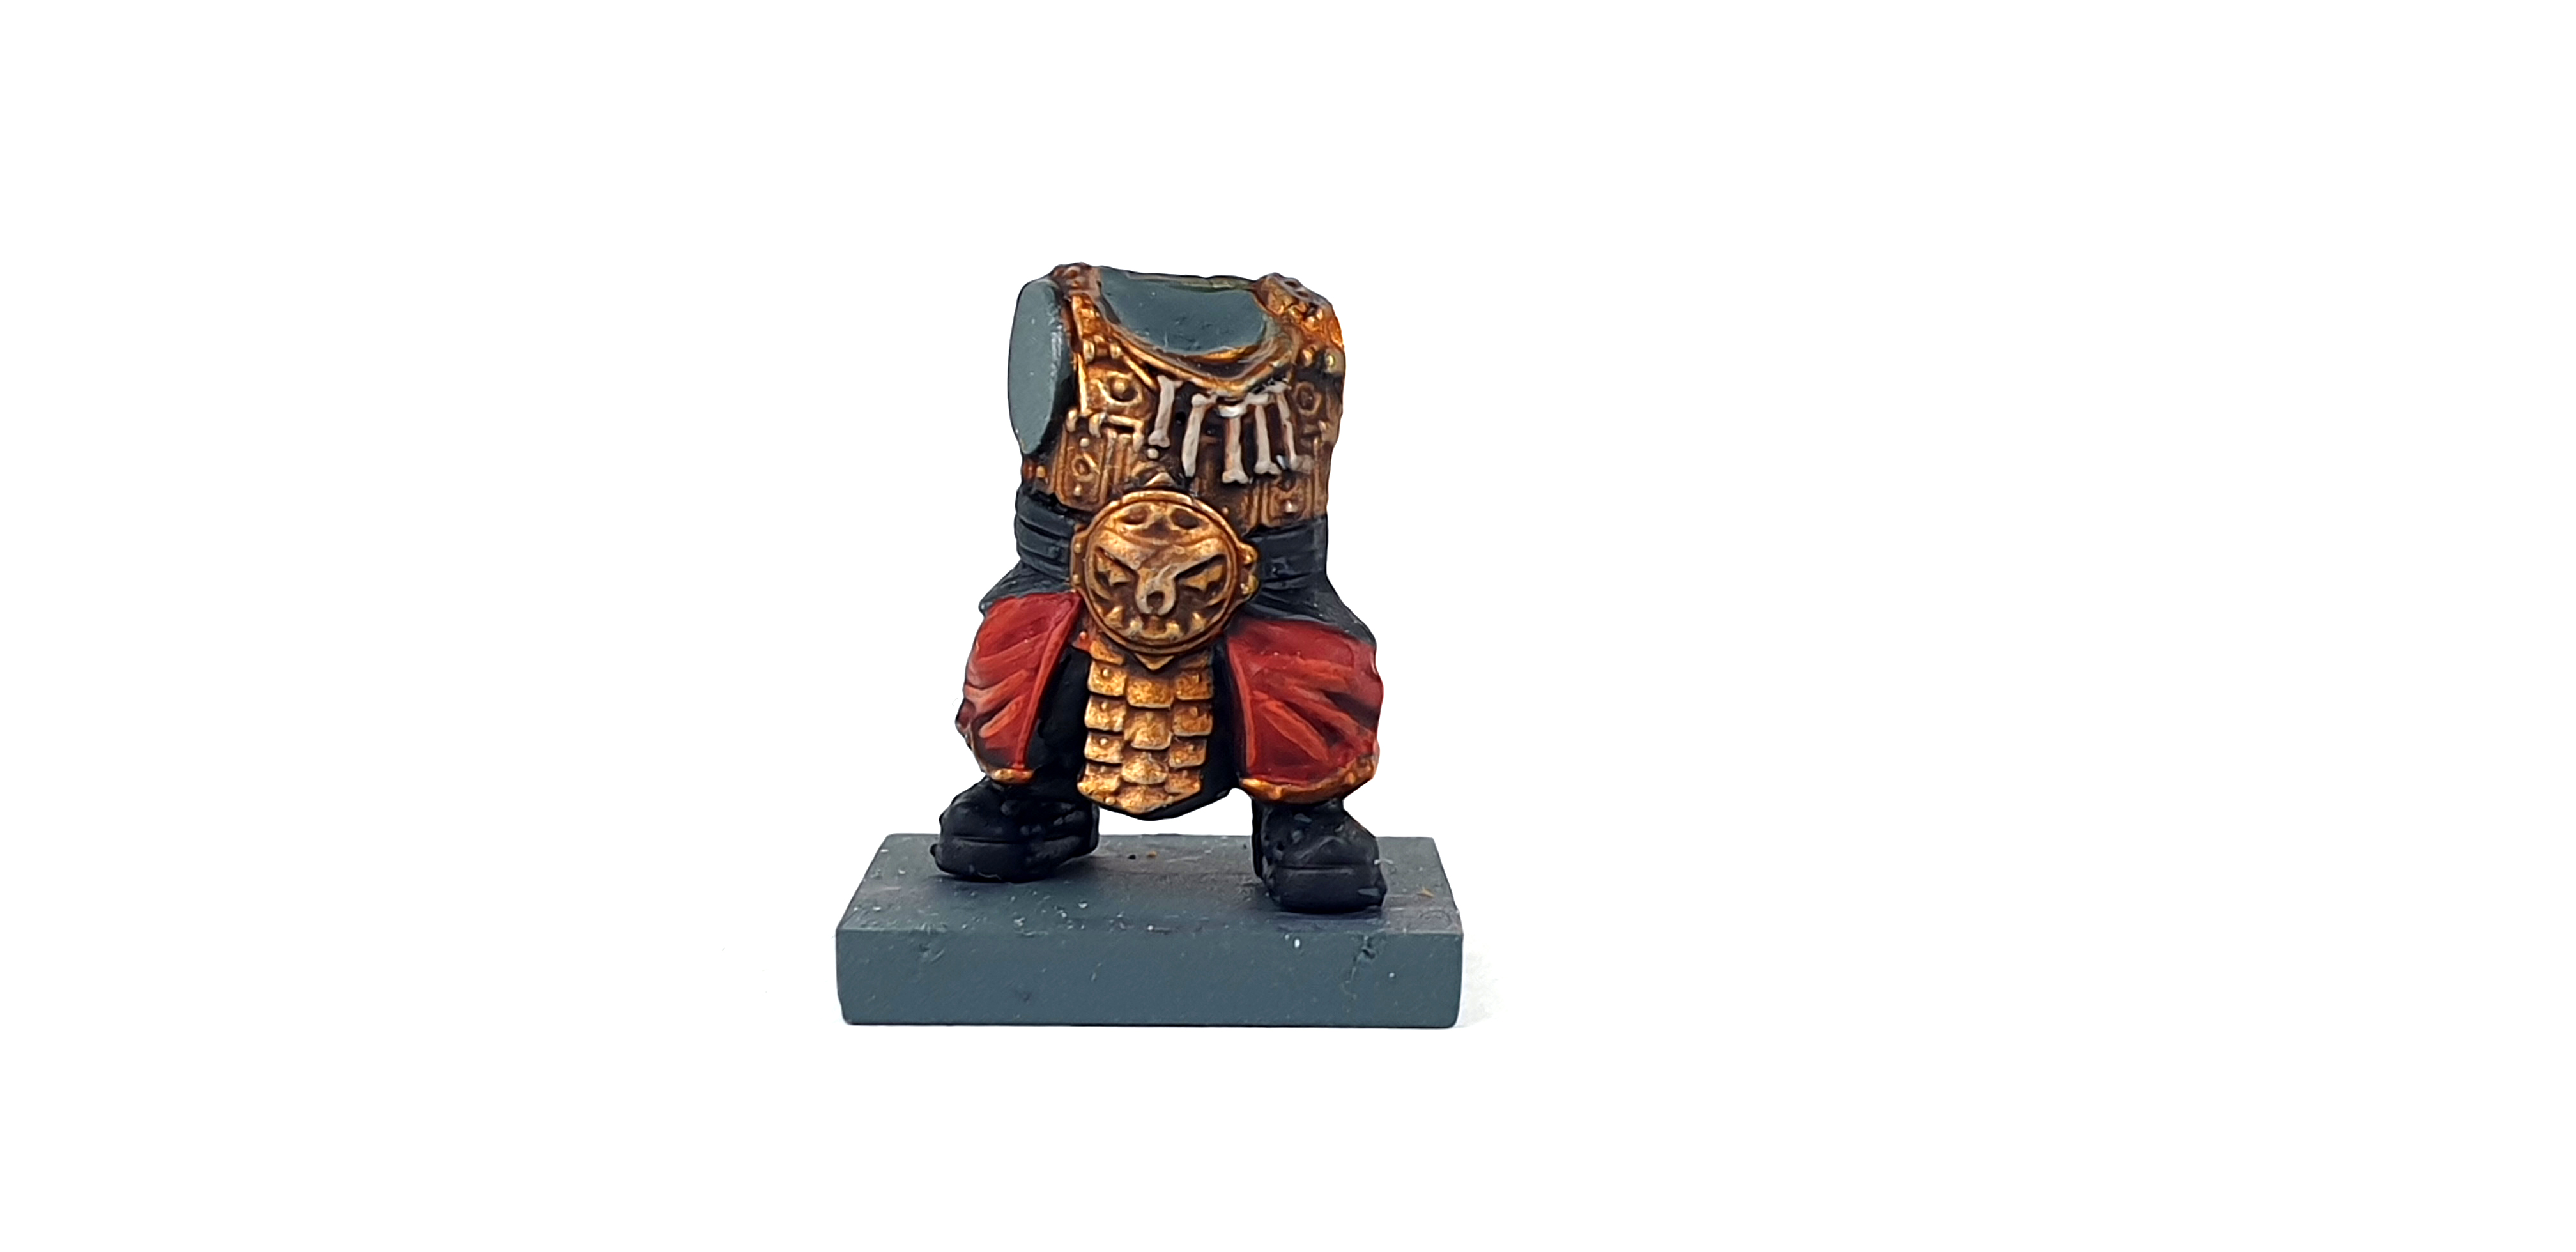
THE CLOTH & BONES
 Basecoat the cloth with a couple of thin coats of Citadel Mephiston Red. Basecoat and bone areas (trophies or skulls) with Citadel Rakarth Flesh. Make sure you take care not to paint to the metal areas you have already covered. If you do, a small amount of Citadel Retributor Armour can be used to hide mistakes.
 Shade these areas with Citadel Agrax Earthshade all over. Try not to get this on the metal, but it won’t be a big problem if you do.
 Re-apply thin coats of Citadel Mephiston Red and Rakarth Flesh, avoiding the recesses. Then highlight the cloth with thinned down Citadel Troll Slayer Orange and the bone with thinned down Citadel Ushabti Bone.
THE BLACK AREAS
 This is for the leather gloves and boots, belts, beards and any excess cloth. Make sure that everywhere has a smooth base of Citadel Mechanicus Standard Grey. Apply a couple of thin coats of Citadel Black Templar (a Contrast paint) all over each area. This will give you a good off-black colour with subtle shading and highlights.
 Carefully highlight each area with thinned down Citadel Mechanicus Standard Grey. Be sparing with this, a couple of well-placed highlights will have more effect than bright highlights everywhere. Focus towards the top and areas that will be visible and leave any covered areas out.
THE FACE

Again, be careful to avoid any painted areas when you apply these colours. Basecoat the face with Citadel Rakarth Flesh.
Wash this area with Citadel Reikland Flashshade. Allow this to dry completely before moving on.
Highlight the face with thinned down Citadel Rakarth Flesh. You want to focus mainly on the cheeks, lip, and nose for this. Then pain the eye with Citadel Mephiston Red and dot the centre with a tiny amount of Citadel Troll Slayer Orange to bring out its glow.
And with that, your Abyssal Dwarf is finished and ready to be added to your growing army! This scheme can be adjusted to cover most of the Abyssal Dwarf range, including Overmasters, Iron-Casters, Immortal Guard, Berserkers, or even Halfbreeds.
Another good aspect of this scheme is that it would be very easy to swap out the red for your colour of choice (green, blue, black…) to make your force distinct from others. As always, this is a way to paint your army, rather than the way.
By Dave Symonds from Mantic Games


Comments
Login or register to add a comment
No comments