


11 June 2021
|

Words & photos by Robey Jenkins of Project Omega Publishing
If you're looking for Part One, click here!
Horizon Wars: Zero Dark is a sci-fi skirmish game published by a relatively new one-man games company, Precinct Omega Publishing. The game gives players the tools to fight covert missions with a handful of elite specialists. In last month’s issue, we shared the basic rules for Horizon Wars: Zero Dark. This month, we introduce the bad guys – the Red Force – and a selection of heroes from which to choose your team to take on a Miniature Wargames exclusive solo mission: The Gauntlet! If you didn’t get last month’s issue, you can find the same condensed rules published as Zero Dark: Training Run on Wargame Vault with the customer-friendly price of pay what you want!
However, the rules given here for the Red Force are highly adaptable to other modern and sci-fi skirmish games, so if Horizon Wars: Zero Dark doesn’t float your boat, you can still use what follows as a helpful starting point to playing solo games of your favourite skirmish game instead.
THE RED FORCE
“Red Force” is the term for any force on the table that is being controlled by the Control Deck. In Operation Gauntlet, Red Force is the enemy.
THE CONTROL DECK
The actions of the Red Force are dictated by the Control Deck. The Control Deck is a normal deck of 54 playing cards with four suits of thirteen cards each and two Jokers.
STARTING FORCE
All members of the Red Force are collectively known as “bogeys”. The starting force in The Gauntlet is four Grunts, four Elites and one Boss.
RED FORCE DEPLOYMENT
When a bogey deploys, place it facing directly away from the objective. Bogeys are deployed one at a time on a 12”x12” grid. The imaginary grid consists of 144 squares each with a grid reference between 1/1 (top left) and 12/12 (bottom right) as shown in the illustration. The grid’s 6/6 point is the mission objective or deployment marker.
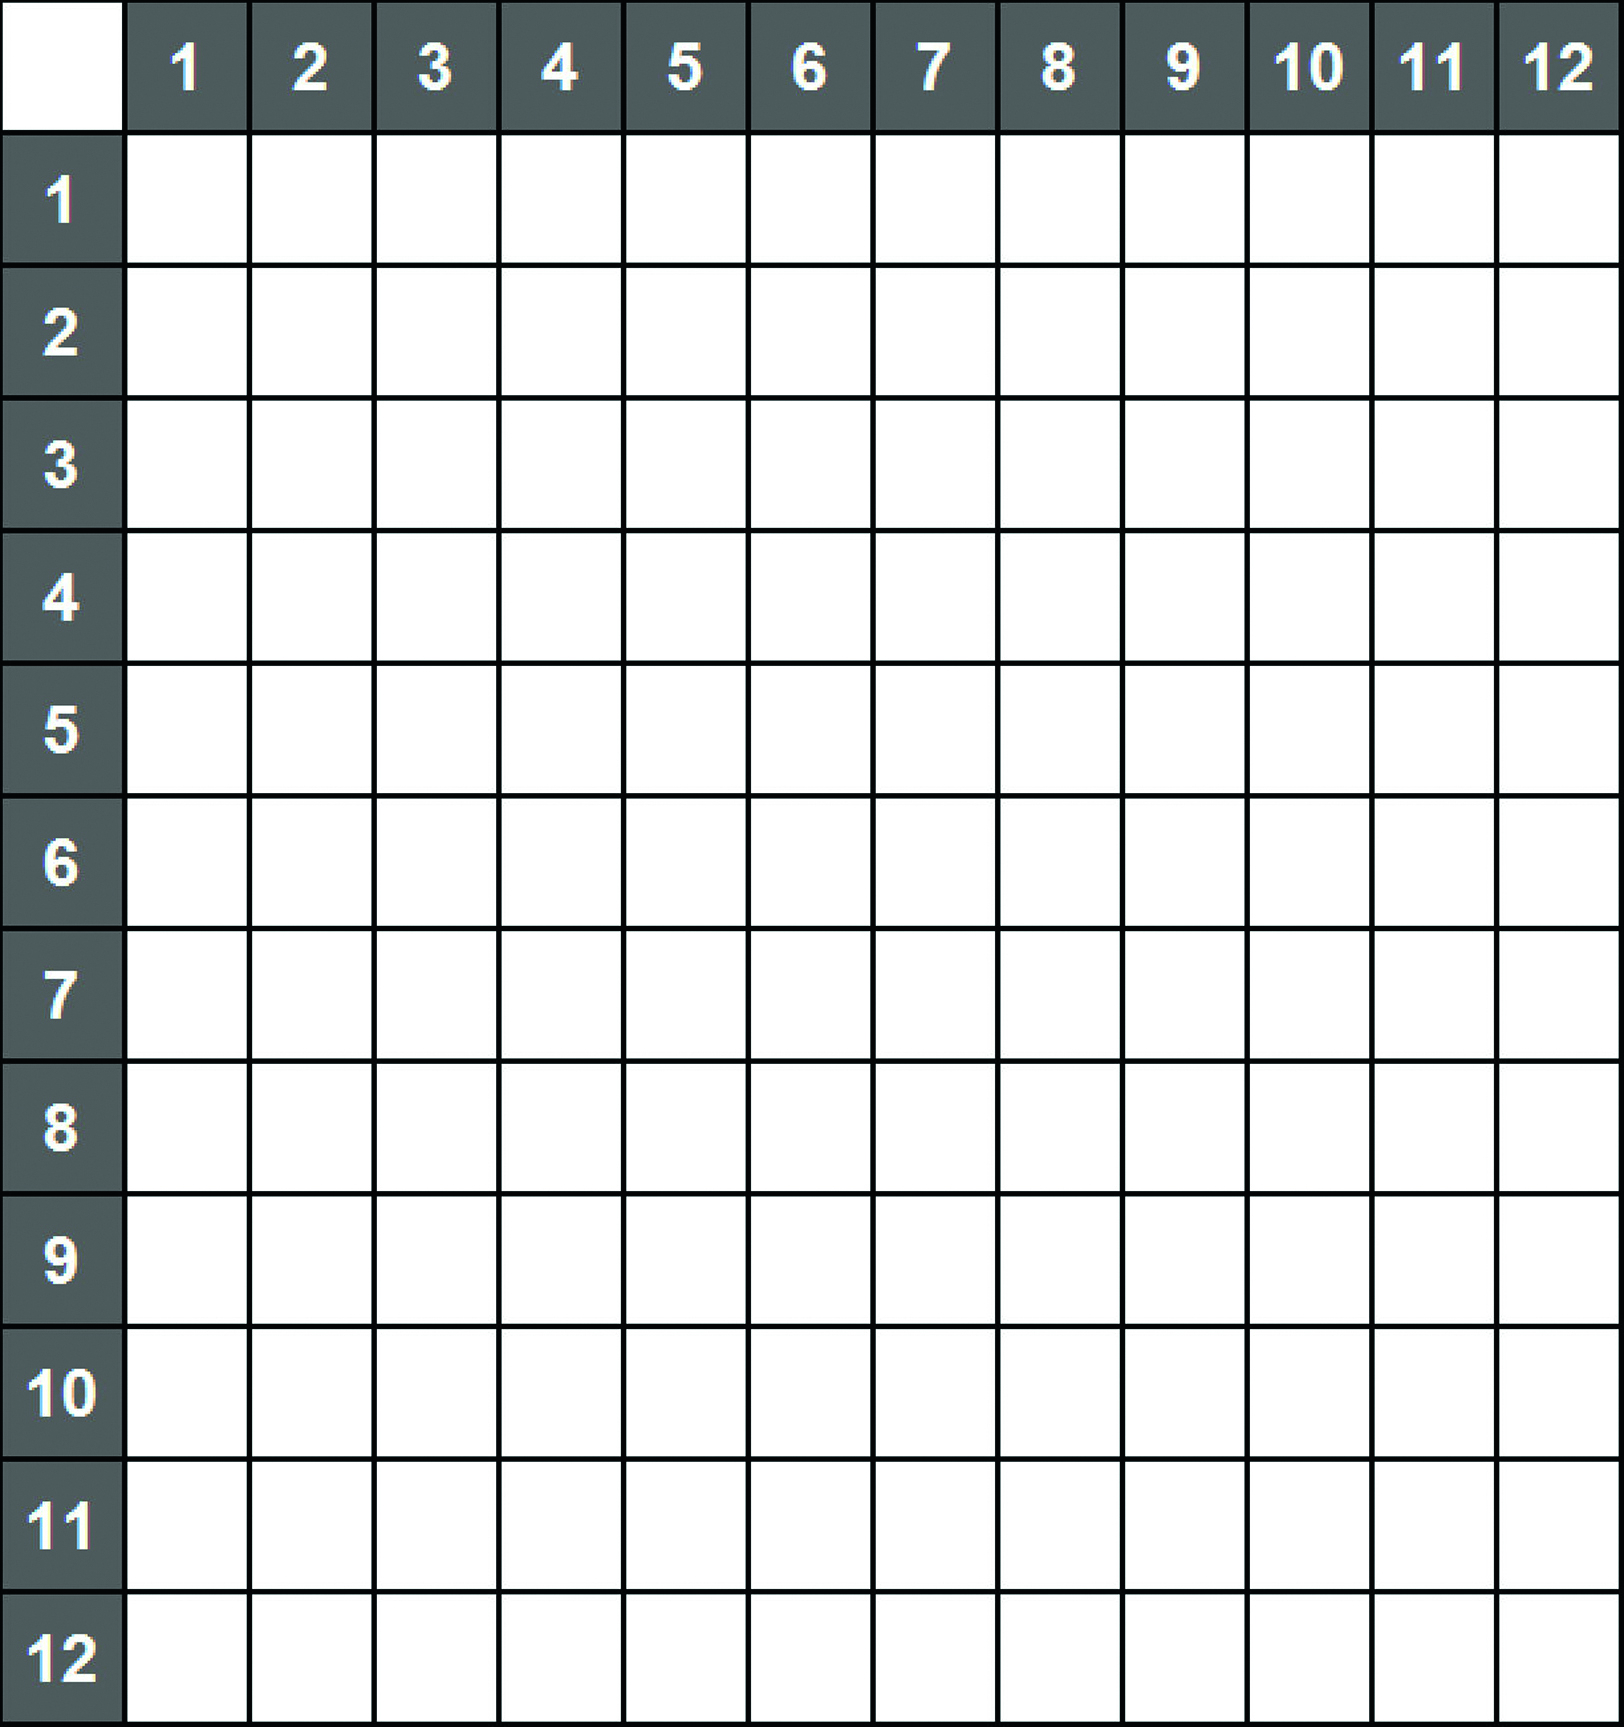
Roll two different d12s: one for “across” and one for “down” and place one bogey on each result until all are deployed. If any bogey comes down on the same point as another, simply place it anywhere in base contact with the first bogey. You don’t need to be too fastidious about positioning. The object is to create a random distribution of bogeys, so if a bogey doesn’t fit in the space where it has come down, simply move it along a line towards the objective until you can place it.
ALERT
Bogeys are alert to danger but, at the start of the battle, they will not usually be ready to fight instantly. Bogeys have a default 180° field of view until they become alert, at which point they have a 360° field of view.
Whenever a character performs an action other than cautious movement or shooting, any bogey within 12” will become alert. If a character performs a shooting action (including as a bonus action), any bogey within 12” per hit (minimum 12”) will become alert. If a bogey performs an action that requires it to attack a character, it will immediately become alert. A bogey deployed as part of a complication is automatically alert.
RED FORCE ACTIONS
Each time a character concludes an action, flip one card from the Control Deck. Each card will generate a primary action from the Red Force depending upon its value and suit. When the last card in the Control Deck is flipped, the battle is over.
CONTROL DECK CARD VALUE
The value of the card tells you which bogey will activate:
- Number cards will activate Grunts.
- Face cards will activate an Elite.
- Aces will activate a Boss.
- Jokers force a roll on the complications table.
The bogey that activates is always the one of the relevant type closest to whichever character just acted. If there are no bogeys of the type activated available to activate, then the category moves up one level. So if there are no Grunts to activate, a number card will activate an Elite. If there aren’t any Elites, a face card will activate a Boss. If there aren’t any Bosses available, an ace will count as a Joker. This effect stacks, so if there are no bogeys able to activate, then each card flip will activate a complication until there are new bogeys.
CONTROL DECK CARD SUIT
The suit of the Control Deck card dictates what primary action will be taken by the bogey who has been activated.
♣ Clubs are Command actions. If the active bogey has LOS, then that bogey attacks the nearest character to which it can draw LOS, then gains a support token OR if the active bogey does not have LOS, the bogey moves towards the nearest hero and gains a support token.
♦ Diamonds are Technical actions. The active bogey gains a support token AND the nearest not-targeted character becomes targeted OR if all characters are already targeted, the active bogey attacks the nearest character. This attack does not need LOS but all other rules apply.
♥ Hearts are Support actions. The active bogey and the nearest other bogey both get a support token AND if there is at least one down bogey, the down bogey closest to a hero is no longer down.
♠ Spades are Attack actions. If the active bogey has LOS, then the bogey attacks the nearest character who is not OOA to which it can draw LOS AND then moves towards the nearest character in LOS who is not OOA. OR, if the active bogey does not have LOS, the bogey moves towards the nearest hero.
SECONDARY ACTION ![]()

All bogeys have a secondary action they take after performing their primary action, even if the primary action was cancelled. The default secondary action is to move towards the nearest hero. Missions or complications may dictate a different secondary action.
SUPPORT TOKENS
Grunts may have a maximum of 1 support token. Elites may have up to 2. Bosses may have up to 3.
BOGEY STATS
Like characters, bogeys have stats. Bogey stats are Attack (Att), Defence (Def) and Wounds (Wnd).
|
LEVEL |
Attack |
Defence |
Wounds |
|
Grunt |
2 |
1 |
1 |
|
Elite |
3 |
2 |
2 |
|
Boss |
3 |
3 |
3 |
MOVEMENT
When a bogey moves, it will move a distance equal to its Att unless specifically stated otherwise. Movement is by the shortest possible route and ignores reductions imposed by obstacles. Bogeys cannot move through impassable terrain. Bogeys that would end their activation on a vertical surface instead end it at the foot of that surface. When a bogey moves, it always ends its movement facing in the direction it moved.
Bogeys can end up deployed on top of terrain and, through movement, get off it. However, Grunts will never climb anything higher than 2” and no bogey will climb anything higher than 3”.
ATTACKS
If the active bogey is required to attack, it will do so by shooting at its target.
SHOOTING
When a bogey shoots, roll a number of dice equal to the bogey’s Att +1 for each support token the bogey has and +1 for each targeted token the target has. The target number is calculated exactly as for a normal shooting action.
CQB
If a bogey moves into contact with a character or vice versa, they must immediately resolve a CQB as a bonus action. In CQB, bogeys roll a number of dice equal to their Att, plus an additional dice for each support token. The targeted state has no effect on CQB actions. The target number for characters to hit bogeys is 5 for Grunts, 6 for Elites and 7 for Bosses.
DAMAGE
Bogeys don’t get to make a roll against shooting the way a character does. Instead, once the number of hits is established, remove one support token from the bogey for each hit. Each remaining hit on the bogey causes one wound. Only hits inflicted after all support tokens are removed inflict wounds. A bogey that takes a number of wounds fewer than their Wnd stat suffers no consequence from the attack. A bogey that takes a number of wounds equal to their Wnd stat enters the ‘down’ state. A bogey that takes a number of wounds greater than their Wnd stat is dead and any remaining hits can be used on bonus actions.
A down bogey is never taken into account when activating bogeys. A dead bogey is removed from the battlefield.
A hero engaged with a down bogey can move it to the dead state as an automatic action.
Note that applying hits to bogeys is not optional. So if a character gets four hits on a Boss, all four must be applied, putting the Boss into the dead state. You cannot apply three, put the Boss down and spend the fourth on a bonus action. This is particularly important in missions when you are required to capture a bogey in the down state.
HEROES
In Horizon Wars: Zero Dark, players are given a tool box of stats and special upgrades with which to customize their heroes to their own tastes and collections. However, for this article we’re going to share with you some off-the-peg heroes, built using the full rulebook. For this mission – the Gauntlet scenario – you have a choice of four of the following heroes:
|
Name |
M |
F |
A |
D |
AV |
Special |
|
Vixen |
4 |
4 |
3 |
4 |
2 |
Leader |
|
Boxer |
4 |
3 |
4 |
4 |
0 |
Spook |
|
Angel |
5 |
2 |
4 |
4 |
1 |
Doc |
|
Cookie |
4 |
5 |
2 |
4 |
2 |
Lethal |
|
Demon |
5 |
2 |
3 |
5 |
2 |
Stealthy |
|
Decker |
4 |
5 |
3 |
3 |
2 |
Gun-Fu |
|
Spikes |
5 |
2 |
5 |
3 |
0 |
Athlete |
|
Teefor |
4 |
4 |
5 |
2 |
2 |
Synthetic (drone) |
SO: WHO ARE OUR HEROES?
- Vixen graduated at the top of her class in Mars’s officer school. She went on to qualify as a pilot and on orbital drop jumps before being head-hunted by one of the Dark departments. She doesn’t talk about her work, but she never leaves her people behind and hasn’t failed a mission yet.
- No one knows quite who Boxer works for, except maybe Vixen. Everyone can see these two have a past - and not the cosy sort. Still, the guy seems to know what he’s about, although you might not want to turn your back on him.
- Everyone likes Angel. He was a trauma doctor in Olympus General for five years and a record-holder for the surface triathlon. He gave it all up when he saw what happened to Earth. He thought he’d be working in civilian rescue centres, but the Sek Corps had other ideas.
- Don’t play cards with Cookie. She has a permanent poker face as a result of a decompression incident and a dark sense of humour. Word is, she was an enforcer for the Union - the one they sent to send emphatic messages. Her choice was this tour or a step into the void.
- Cookie might be brutal, but Demon is a stone-cold killer. Japan was destroyed by the impact, but the arts of death his family brought to Mars work just as well as they ever did. Off the clock, he’s quiet and cheerful. But when he punches in… he punches in.
- Decker doesn’t know when to shut up. Fast-talking, offensive and funny as hell, he keeps up an endless stream of chatter and inane observations. Right up until he pulls his pistols. Then the jokes stop and the body-count starts climbing.
- Spikes isn’t much of a soldier, but damn can that girl run! Her obsession got too much and after a random drugs test saw her kicked from the Olympic team she doubled down and became a runner for hire. She climbs like a spider and jumps like a flea. If you need it, she’ll go get it.
- Teefor – he doesn’t answer to any other name – is a skinny kid with bad skin and a nervous disposition. He doesn’t belong on a battlefield, which is why he doesn’t go there in person. Teefor drives a drone, and the metal version of himself couldn’t be more different. Or more deadly.
The heroes in Zero Dark: Gauntlet each have one upgrade with the following rules:

Upgrade: Athlete (Spikes)
- The character is an exceptional physical specimen (or has been enhanced or equipped to replicate the effect). When making jump actions, athletes automatically pass tests to jump up to their cylinder height and test for jumps up to twice their cylinder height on M–AV(10). When they make jump across tests, they may always choose to add +1 success in addition to any other successes (so will always successfully jump across gaps of 1” or less).
- When they make a climb action they may take a D–AV(v) test where v is twice the distance moved. If they get one success, they may perform a bonus climb action. Additional successes may be used for other bonus actions (although climbing characters may still not become prone whilst climbing).
Upgrade: Doc (Angel)
- Not, usually, an actual medical doctor – although it has been known – a team’s “doc” has a gift with field medicine. Docs can get the very best from the nanotechnology field dressing kits and instant-stim injection packs that can, with just a little time, turn a comrade from “nearly dead” to “fully fit” ...at least, until the stims wear off.
- When a doc makes a medic test, the player can re-roll any or all of the dice in the test. Docs cannot make this re-roll if the target is synthetic or themselves.
Upgrade: Gun-Fu (Decker)
- The character is an expert in short-range fighting with firearms, able to tackle multiple enemies simultaneously and in the blink of an eye.
- When spending bonus actions, a character with gun-fu may turn as many bonus actions as the player wishes into shoot actions, instead of just one. However, each successive target adds an extra +1 to the range, so the second target would add +1; the third, +2; the fourth, +3 etc.
Upgrade: Leader (Vixen)
- All teams have a leader, of course. But in many, the actual business of leadership is more or less evenly distributed. Some X Team members, though, have a charisma, intelligence and connection to the strategic leadership that makes them unquestioned principals.
- The presence of a Leader in a team provides the team with a number of re-rolls equal to the Leader’s D. These re-rolls may not be used when the Leader is the active character. If the Leader goes OOA – even if he or she is subsequently revived by a medic test – all remaining re-rolls are lost.
Upgrade: Lethal (Cookie)
- This weapon needs exceptional skill to bring it to bear. However, when it hits, it hits hard. If an attack with this weapon causes only one hit, it causes no wounds (but will still cause stress). However, if it causes two or more hits, it counts as causing an additional hit. This is cumulative with other effects that cause additional hits, such as critical hits.
Upgrade: Spook (Boxer)
- X Teams often find themselves accompanied by “reinforcements” from unidentified but authoritative agencies with a particular agenda. Some spooks are temporary attachments. Others might eventually become trusted colleagues, even friends.
- A Spook begins a mission by drawing a number of cards from the Control Deck up to the Spook’s A stat. Whenever a Control Deck card is flipped, if the Spook character is not OOA, the player may play a card from the Spook’s hand. The card played is then resolved instead of the one flipped.

Upgrade: Stealthy (Demon)
- Stealthy characters are particularly adept at remaining undetected even whilst under the enemy’s nose. When a stealthy character makes a cautious move, as many bonus actions as the player wishes may be used to make movement bonus actions, instead of just one.
Upgrade: Synthetic Drone (Teefor)
- Drone pilots, safely distant from the real battlefield, are less affected by the chaos of the situation. They never take stress tests and always have a 3600 field of view.
TERRAIN
Zero Dark assumes that you are playing across more than just a flat surface. A good mix of different heights, sizes and types of terrain is essential to a fun and challenging game, and you can gain a lot of replayability by adding or subtracting terrain. If you find the mission in this month’s article too easy, try using some of the terrain types below, or putting the objectives on top of or inside buildings.
![]() Open Ground
Open Ground
 Open Ground
Open ground is flat, featureless terrain to which no other rules are applied. It is worth remembering that open ground doesn’t just happen at ground level (and may not exist at all at ground level!). Flat roofs, the tops of thick walls, walkways and ramps may all be considered open ground.
Broken ground
Broken ground is common across the Fallen Earth. This is where buildings have shattered, the earth has ruptured or subterraean systems have exploded, leaving the surface unpredictable. Movement across broken ground cannot be cautious. At the end of an action spent moving across broken ground, make a D(v) test, where v is the distance moved. If the test is failed, flip two Control cards rather than one for the the Red Force activation and apply both. If one success is scored, activate the Red Force normally. Additional successes may be spent on bonus actions, but note that bonus movement actions will require a further test. Bogeys reduce their speed across broken ground by –1.
Dangerous ground
This terrain is treacherous. Its mundane surface conceals all sorts of deadly risks. After an action spent moving across dangerous ground, make a D(v) test, where v is the distance moved. The character suffers a number of hits equal to v, minus the number of successes achieved on the test. Superfluous successes may be spent on bonus actions, but bonus movement actions will require a further test. Bogeys will never move across dangerous ground. Treat it as impassable for them.
Impassable ground![]()

Some obstacles simply can’t be negotiated. No character or bogey can enter impassable ground.
Walls
“Wall” describes any linear obstacle that entirely obscures anything shorter than the wall from an observer on the other side. A wall thick enough for a miniature to be placed safely on top of it is really two walls separated by a section of open ground.
Fences
A fence is any linear obstacle that obstructs passage from one side to the other, without entirely obscuring an object shorter than the fence from an observer on the other side. A fence may provide the obscured state depending on how dense or thick it is. So, for example, a chain-link fence may provide no level of obscured. A wooden fence may provide the obscured(1) state. A dense hedgerow may provide the obscured(2) state.
Staircases
Staircases, along with ramps and pitched roofs, are considered to be open ground unless otherwise categorized. A damaged staircase might alternatively be defined as broken or even dangerous ground.
Ladders
Using a ladder allows a character to move up to 2M, minus their AV. If the total is 0 or less, the character is too heavy to climb. Like staircases, damaged or rusted ladders may be considered broken or dangerous.
Buildings![]()

Buildings are the most common type of terrain. But rather than being an individual item, a building is best thought of as a group of items: walls, flat roofs, pitched roofs, windows, skylights, walkways... Each component of a building is a terrain item in its own right that can have its own rules and restrictions.
The simplest building is treated as impassable: no one can climb up it, climb onto it or move through it. But this is quite dull. A more interesting building at least has walls and a flat roof treated as open terrain, and for a more interesting experience still, a building can have an interior that is also open ground, so a character can enter through a window or door.
Once you are comfortable with the general rules of Zero Dark, you may like to experiment with adding staircases or ladders, with making sections of a building broken or dangerous and with buildings on multiple levels, perhaps connected by walkways.
MISSION: TRIAL BY COMBAT
Mars’s principal base at Macapa spaceport has been the target of increasingly angry demonstrations from the Terran survivors in the region. Until now, high command has tolerated them as an opportunity for the locals to let off some steam, but recent incidents of deadly violence suggest planned intent. Intelligence has identified a concentration of armed Terrans in the outskirts of the rundown city-state and believes they are poised to turn the next demo into a full-on riot. Your team has been ordered to infiltrate the site, kill or capture the ringleaders and destroy their communications equipment.
Visibility Level
The visibility level in this mission is 3.
Set up
You will need a roughly 4’x4’ surface on which to play. Set up the table as shown in the diagram below. The scenery shown is just an example and you can place buildings and terrain based on your collections and available materials. The heroes deploy in the bottom right-hand corner.
Once the heroes have deployed, deploy the Red Force as described in the article last month. The Red Force has four possible deployment points, which are the communications nodes marked in yellow on the map above. When deploying a bogey, randomly determine on which the bogey will deploy.

OBJECTIVE
The heroes must try to access and then destroy each of the Red Force communications nodes. To access a node, a hero must be engaged with it and then pass an interact A(13) test. To destroy a node, a hero must shoot the node and inflict at least one hit.
The game ends when:
- The Control Deck runs out, OR All nodes are destroyed
For each node accessed, the heroes gain +2 victory points. For each node destroyed, the heroes gain +1 victory point. However, if the Control Deck runs out before all the nodes are destroyed, the heroes lose automatically.
A final score of 8 or more is considered a solid win for the heroes and a score of 12 means tea and medals all round! However, a score of less than 6 will see them facing hard questions about their competence.

COMPLICATIONS
If a complication is generated in the mission, roll a D12 and consult the table below:
|
1-2 |
Perimeter Alarm - All heroes become targeted. If a hero is already targeted they become stressed(+1). |
|
3-4 |
Deploy Night Visors - The visibility level becomes 0 for the Red Force. |
|
5-6 |
Reinforcements - Deploy a Boss |
|
7-8 |
Reinforcements - Deploy 3 Grunts |
|
9-10 |
Reinforcements - Deploy 2 Elites |
|
11-12 |
Booby trap - The hero closest to a communications node becomes wounded(+2) |
END NOTES: THE DEBRIEF ![]()

If you liked the sound of what you’ve read here, you can get the full rules, including rules to build heroes from scratch and campaign rules, from Wargame Vault or via precinctomega.co.uk in PDF or print-on-demand format. There is also a supplement for the game, called Operation Nemesis, which provides a full 12-mission narrative campaign as well as six new missions for player-versus-player experiences.
Rules creator Robey Jenkins has promised new supplements this year, just as soon as he can finish publishing his next new game: a spaceship combat game called Horizon Wars: Infinite Dark. And – publication date wise – that one is on the horizon! Ed.
This article originally appeared in issue 456 of Miniature Wargames. You can pick up your issue of the magazine here or subscribe to make sure you never miss another issue.
Comments
Login or register to add a comment
No comments