


28 October 2020
|
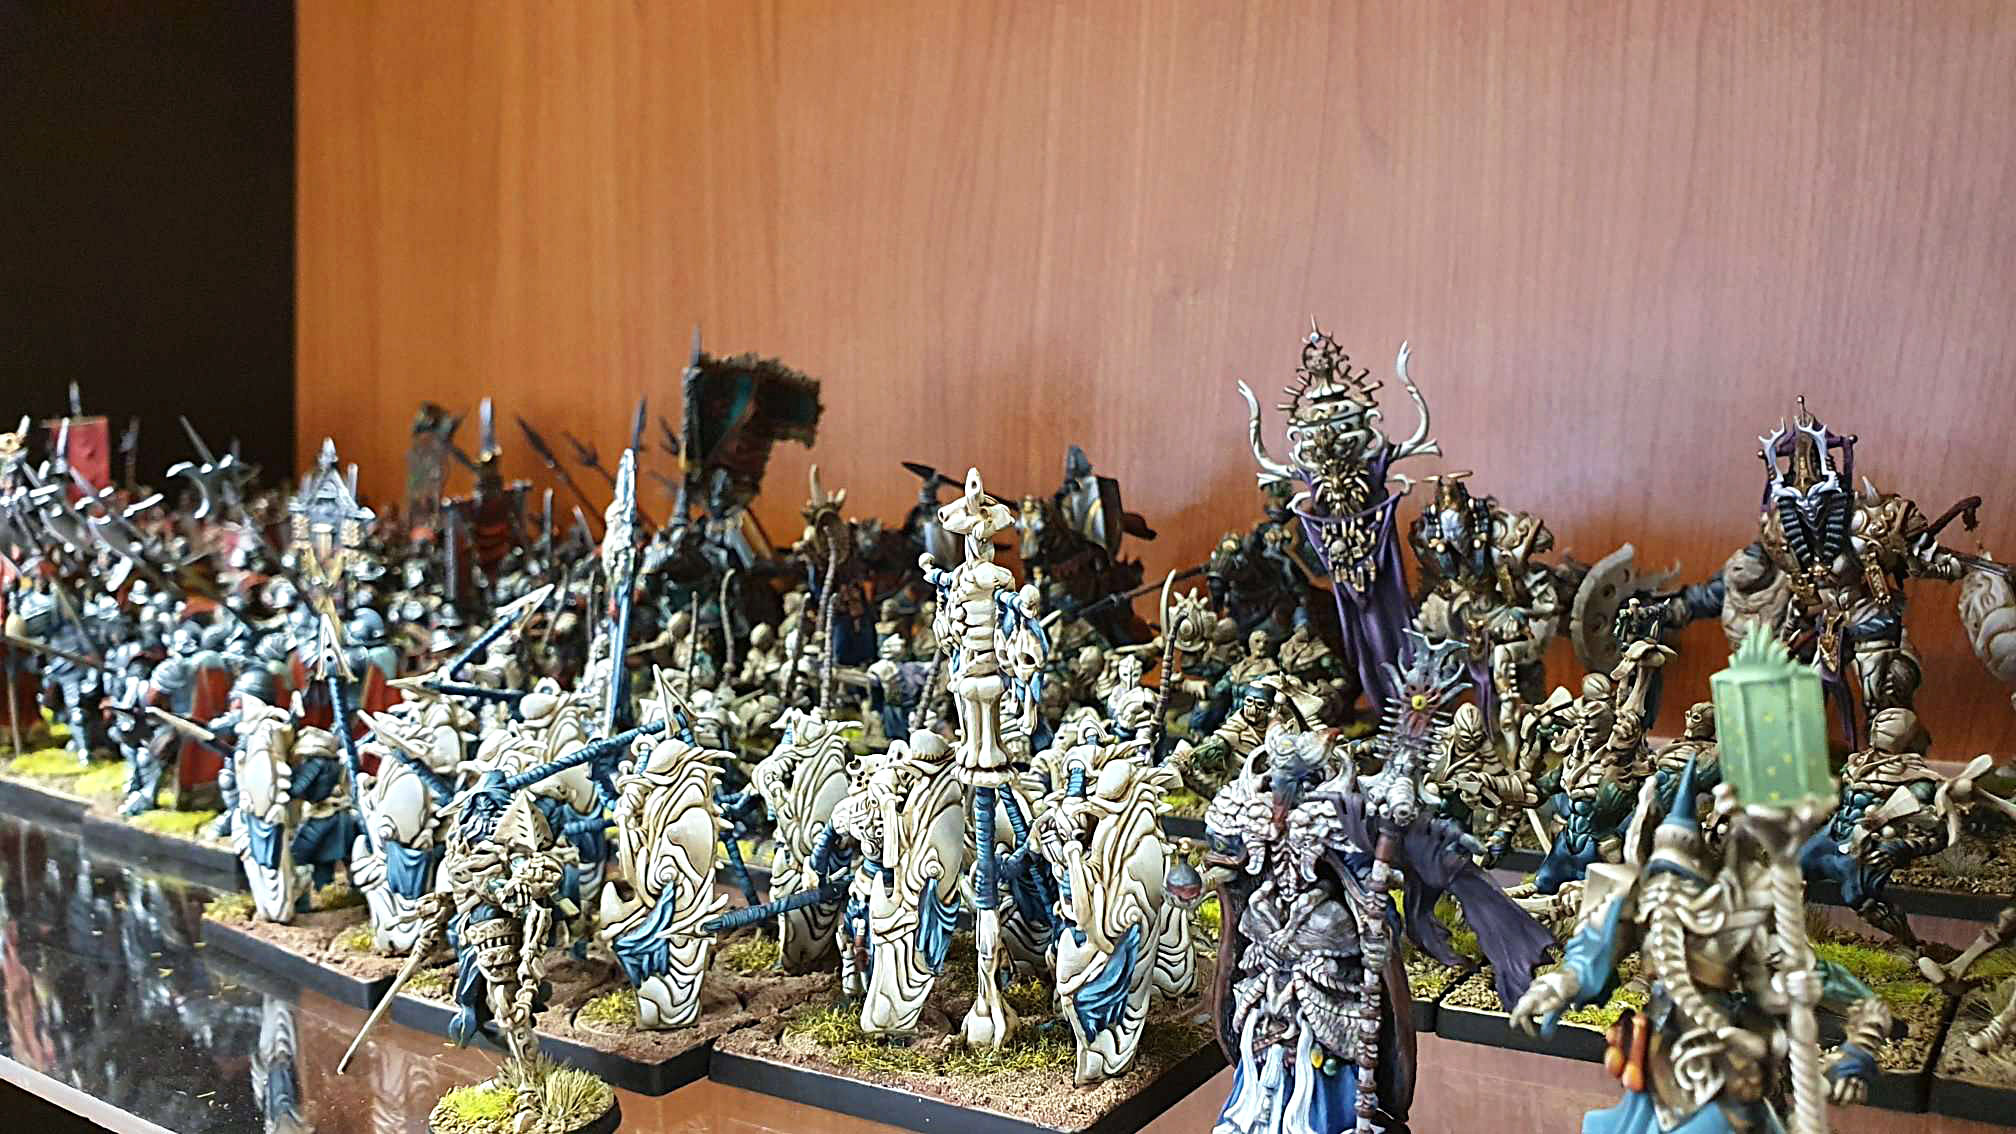
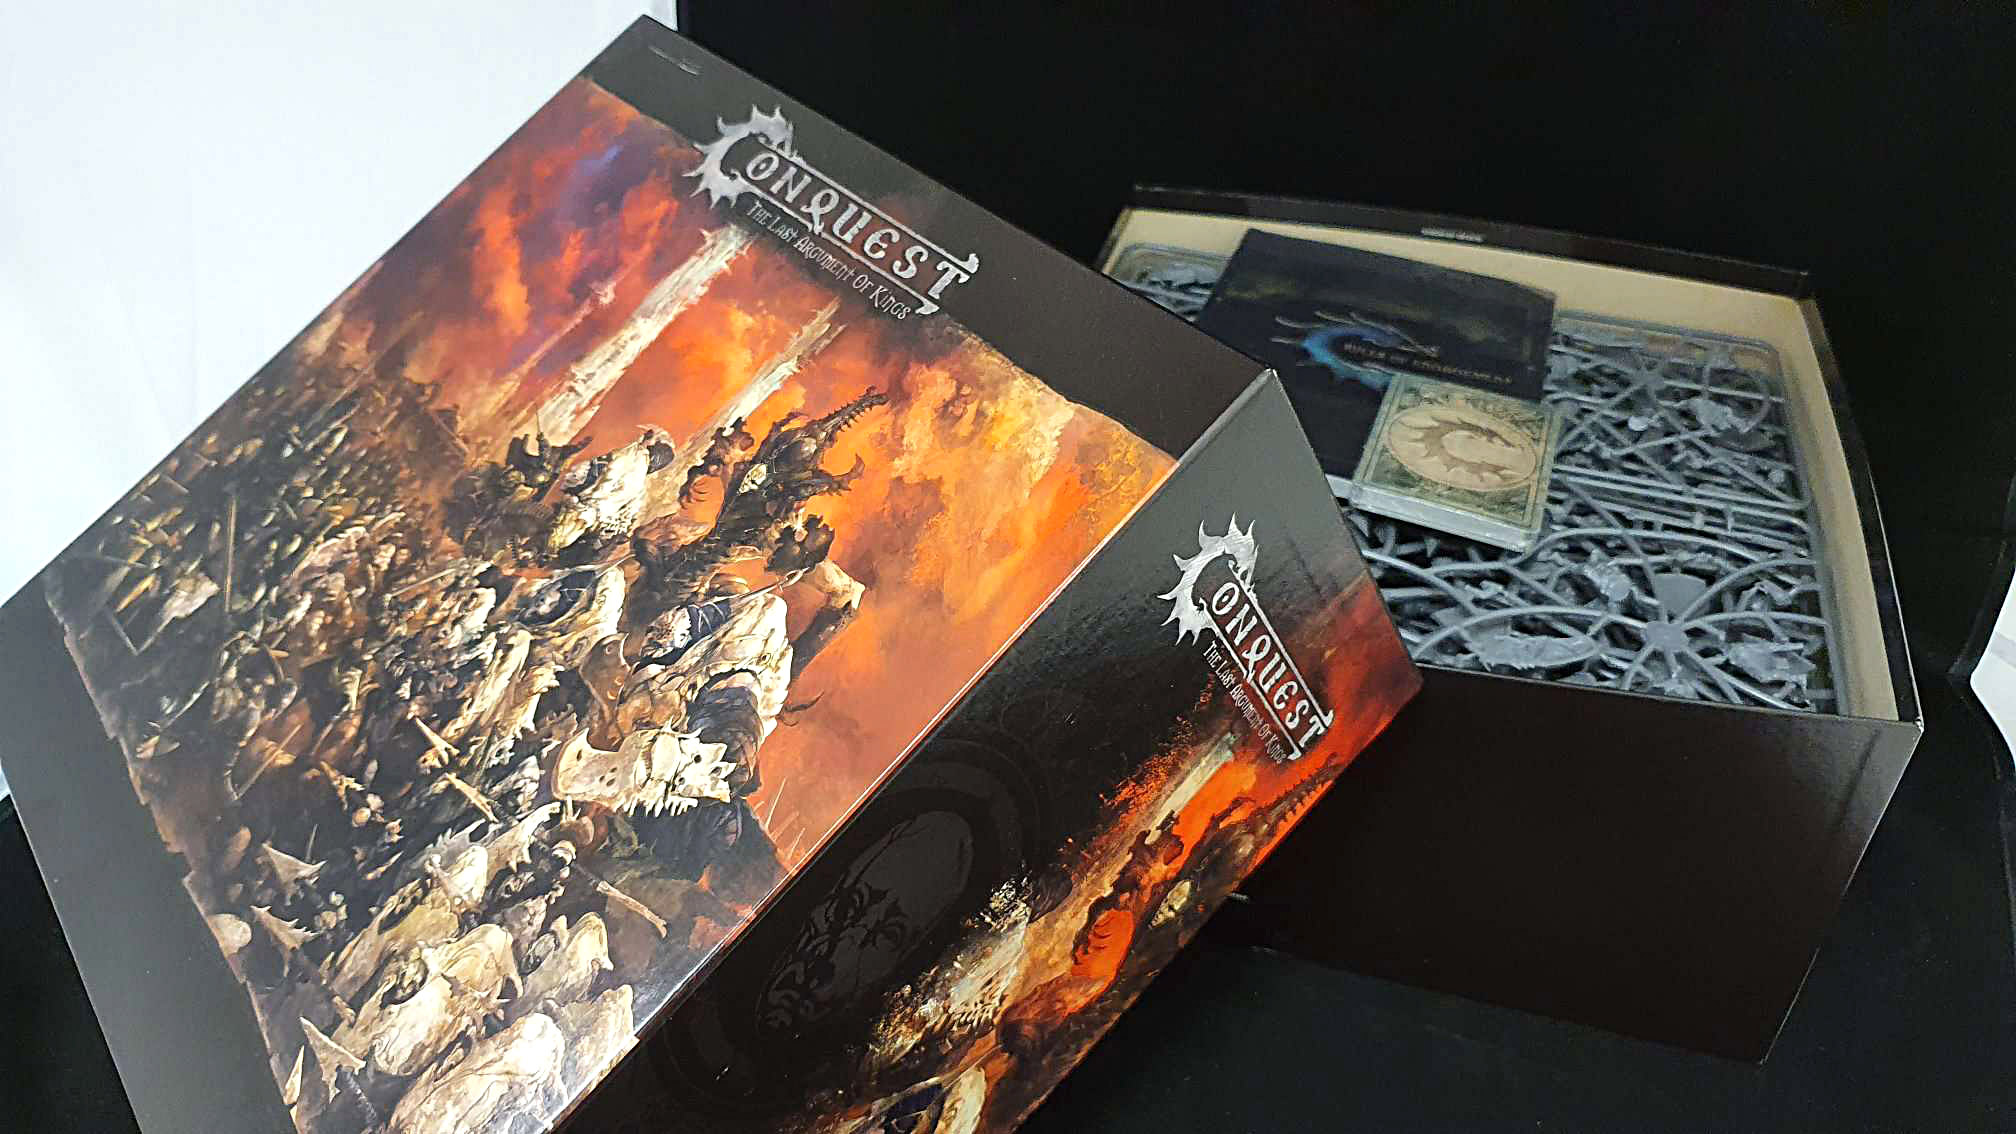
We hear from Para Bellum Wargames
We recently reviewed the Conquest: the Last Argument of Kings rules from Para Bellum and was intrigued by the range of miniatures they produce. I asked the Para Bellum Wargames team to give our readers an idea of what was involved in the design and manufacture of plastic and resin miniatures. Stavros Halkias, founder and Creative Director at Para Bellum Wargames Ltd, kindly agreed to shed some light onto the process. Ed.
PROCESS
Designing a plastic miniature is a process that takes a long, long time and can be broken into roughly three stages and I’ll deal with them in order.
Design art for a Clone Commander.
IDEATION OR CONCEPT
This part is my personal favourite, however this step is unfortunately also the fastest. Some concepts spring to mind fully realized, with detailed lore, a good idea of their combat abilities and role as well as strong notion of what they look like. Other times, concepts are created layer by layer to fill in a require battlefield role that the faction needs.
For example we start with Dweghom Ranged Infantry. We then add the sub-faction, which immediately adds a strong flavor and rough outline to the miniatures, as a mechanical weaponry favored by, say, Clan Infantry, will look quite different to the sorcerous weaponry of the Tempered caste.
As the idea becomes more refined, the concept artist is brought into the mix with a brief for the looks of the miniature. A brief – a good one – should be a detailed description of the model, including image references and historical equivalents, along with key words and concepts that help the artist evoke the idea of the model. Unfortunately for our poor artists this process often reduced to my standing in front of their desk with a manic gleam in my eye and a bit of drool coming out the corner of my mouth while I shout things like: ‘Viking Ninjas!’ or ‘Carnivorous Goat Cavalry!’ The results vary...

Above and below: Concept designs for infiltrator and low-end clones.
Regardless of the road taken to get there, this stage is one of the most interactive in the process, where the artists input is modified and modifies the ideas of the creative director.
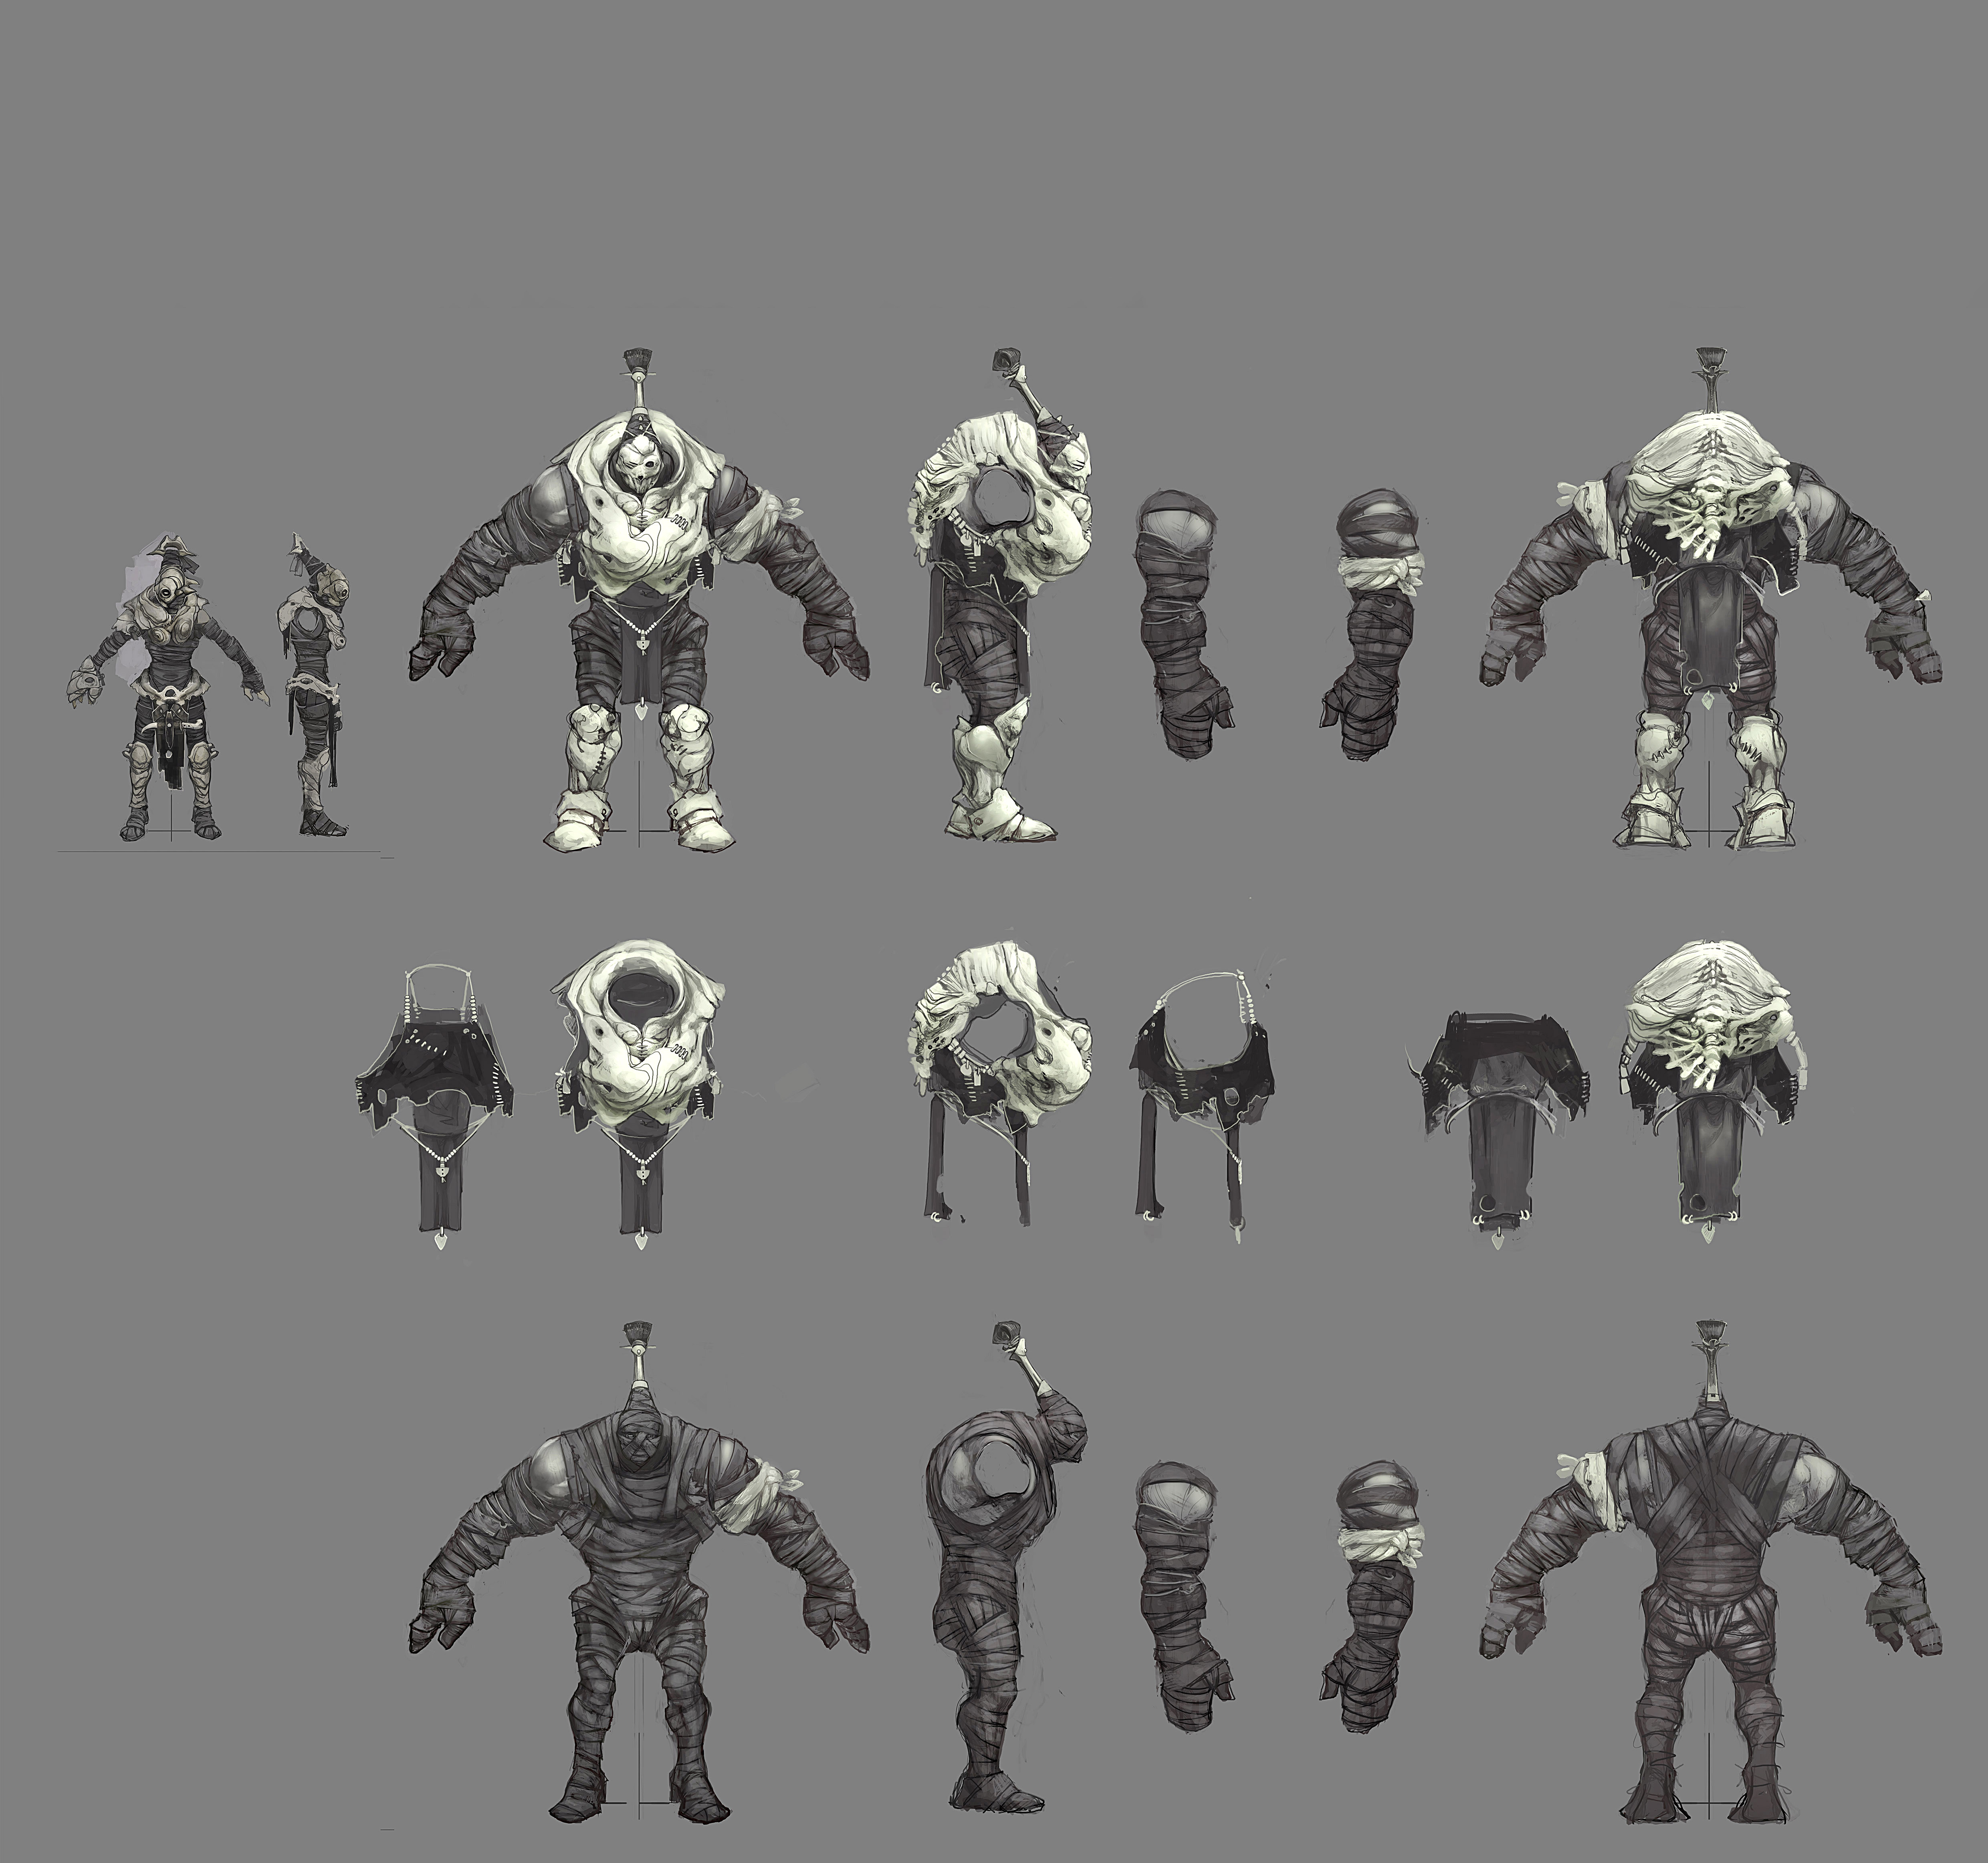
Once the concept sheet is ready, the next stage is to produce a model sheet. This is a delicate and time-consuming stage during which the artist renders each of the models views (front, back, side and even top) to facilitate the sculptor. The more accurate and detailed the model sheet, the better the miniature as small details and interactions in the model are conveyed clearly to the sculptor.
MODELLING
Once the model sheet is complete, the sculptors finally come into the picture. Actually, sculpting the model is, next to concept and ideation, one of the fastest processes in the entire production chain, taking somewhere between 2-3 weeks per model and is the part all sculptors enjoy… but it’s the calm before the storm.
Above and Below: A model sheet for a Man-at-arms and Spire Elves Ogre Clone.
During this part of the process we print out the models in 3D printers several times. A common mistake amongst first time manufacturers – particularly when using a ‘Kickstarter’ – is that their models tend to be… ‘washed out’, appearing almost shallow and melted. This is a simple optical trick played by the monitor as you sculpt. The sculpt on the screen is roughly five times larger than the miniature, so all the details show up wonderfully and the relief is beautiful…
So when the model is printed, the face can look like a lumpen bit of wax, the model appears pin headed, and the limbs and weapons are so thin that they warp under their own weight. I still remember the heart attack when I saw our first print almost five years ago… we had a lot to learn.
It turns out that this result is because those normal and realistic proportions that are so pleasing to the eye in on the screen are… off when applied to a miniature no more than a couple inches high. Proportions have to be revisited continuously, particularly the heads and arms otherwise the models look terrible despite the gorgeously misleading images you see in the sculptor’s screen.

The sculptor designing at the screen.
PRINT, PRINT & PRINT AGAIN
It is to avoid this that the model is routinely printed in 3D during its production. This helps us not to be misled by the computer screen and see what the model really looks like. This of course adds a to the sculpting delay as with a full stable of sculptors, even multiple printers are not enough to keep up with prototypes and reviews. As a result most sculptors work two models at the same time: one for plastic production and one for resin.
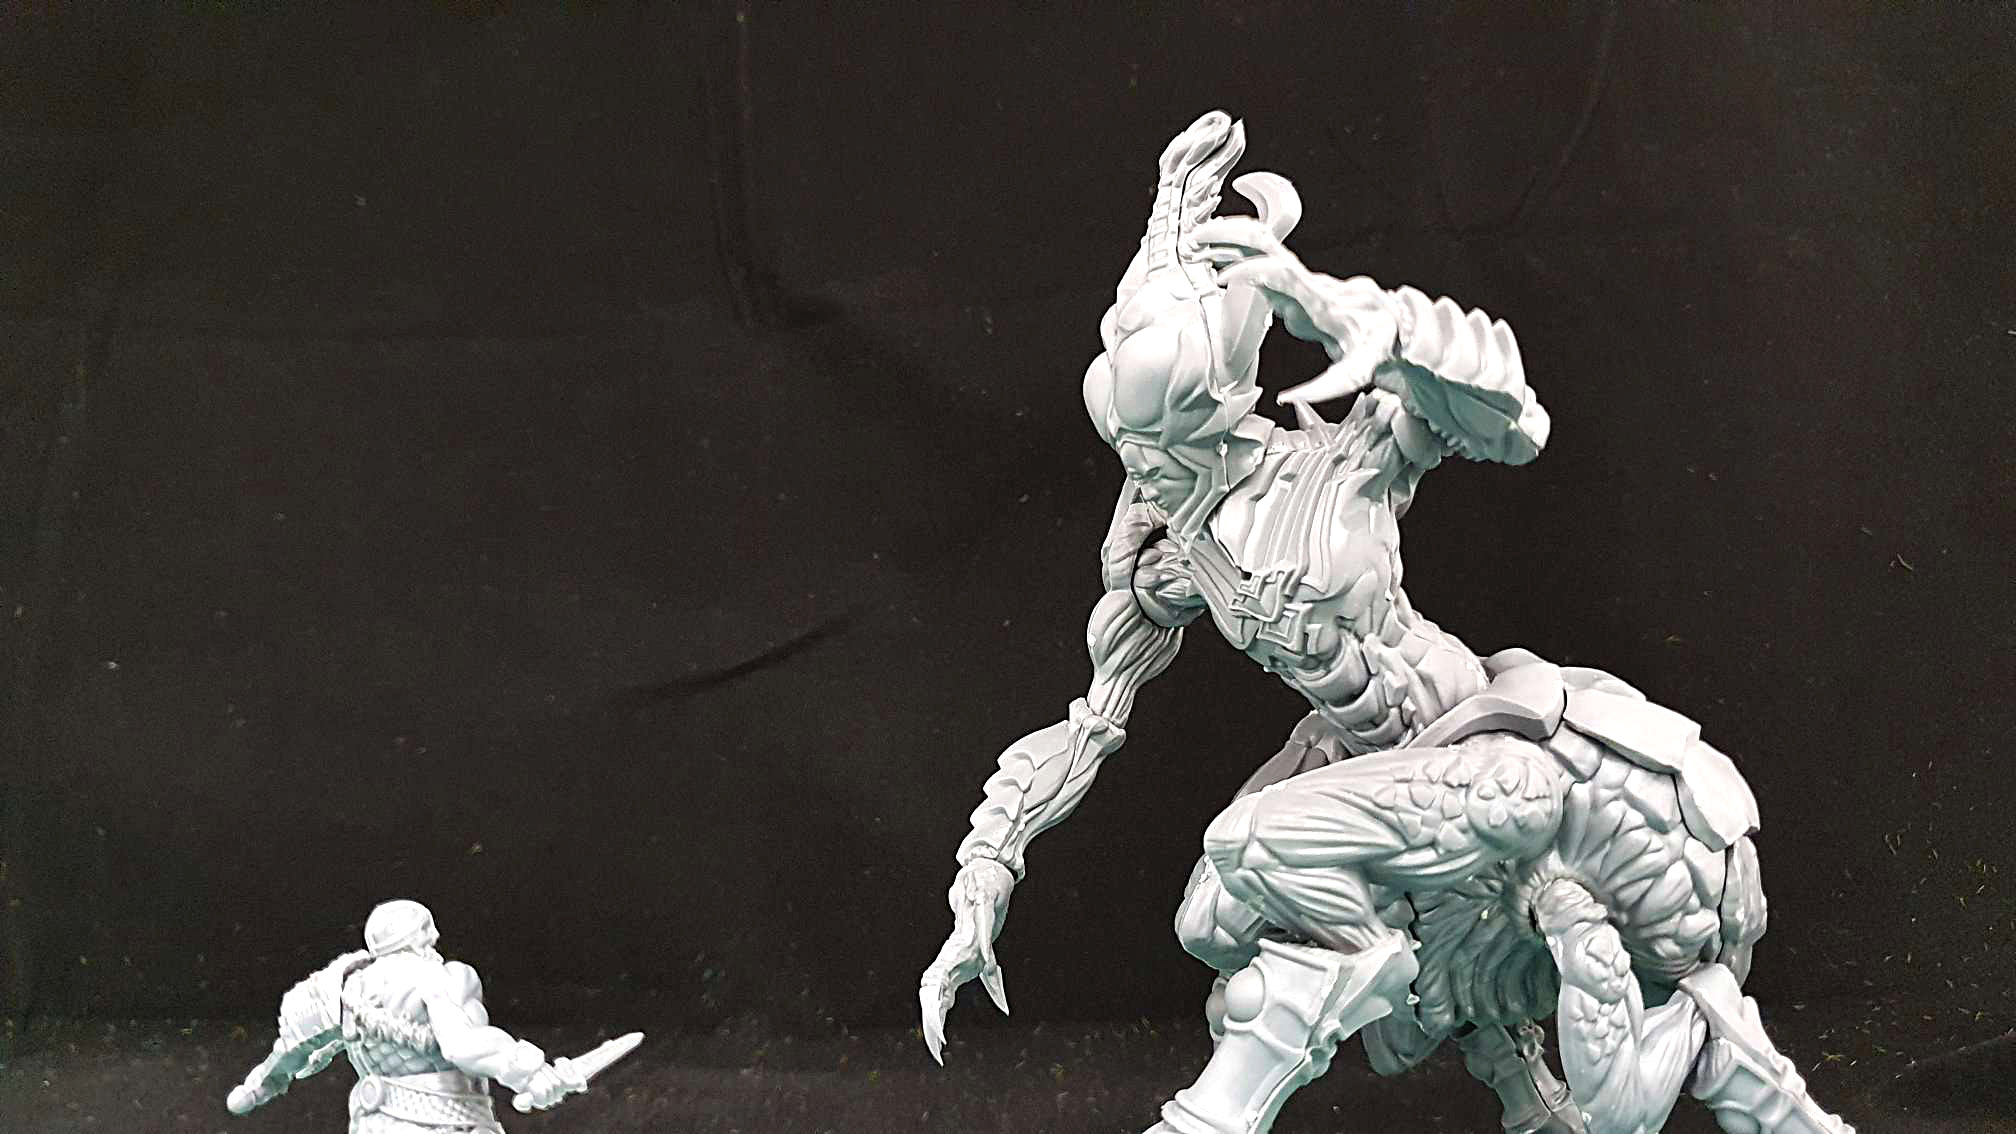
Trial prints.
It turns out that if you want to produce in plastic, even when you have a finished sculpt that is not even ten percent of the process. The remaining ninety percent of the work is what our sculptors refer to as ‘torture’ and our engineers as ‘drafting’. Drafting is a process by which all undercuts and voids within the model are removed and three percent is added to every perpendicular surface in the model…
This process is hard to explain without a diagram. But if you have ever wondered why plastic miniature poses are stiff and their detail washed out, it’s because of drafting. If you have wondered why the mould lines are so pronounced, it’s because of drafting. If you have ever wondered why the model has a parting line in an awkward place… believe me its not because we did not notice it, it’s because of drafting.
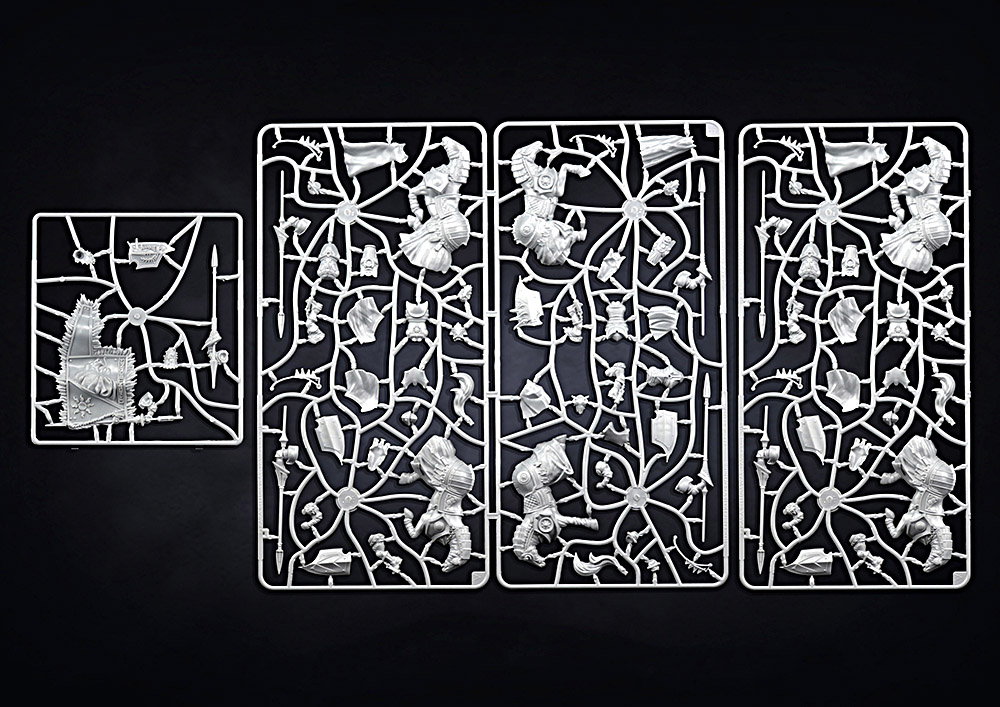
Dragonslayer and Household knights sprues
But there’s more! If you have ever wondered why normally sane 3D sculptors and engineers working with miniatures look at a window longingly and consider the 60ft plummet to the ground as a pleasant release, you guessed it! Its because of drafting. All in all, drafting makes sculpting a plastic miniature kit a four month process rather and a four week process.
In addition to this a number of other factors have to be considered: the thickness of the parts (to allow the flow of plastics); the sharpness of any points (the air can super compress in sharp tips leading to burnt areas); the depth and size of the parts (the computer controlled drills must be able to physically reach the area in question); and a hole slew of other technical requirements that make a sculptors/engineers’ life absolutely miserable.
CUTTING THE MOLDS
One would think that once the parts are made in digital form the next steps are simple, right? Turns out they are anything but. The files must be converted to an acceptable format so that engineering programs can add the technical information.
Did you know that sculpting programs have no inherent way of establishing the size of a sculpted piece? To give it definite dimensions it must be imported into an engineering suite, so that this information can be added. Then the parting lines of each component must be established and the cored negatives created from the positive hole.
Then it has to be laid out on a grid that takes into account the pressure of the plastic, the thickness of the runners and parts as well as the adjacency of the injection point all have to be considered. Once all of these have been established, the instructions are coded into a language that the computer operated mills can understand. The programs that run the mills – for even our simple moulds – run into the hundreds of thousands of lines of code.
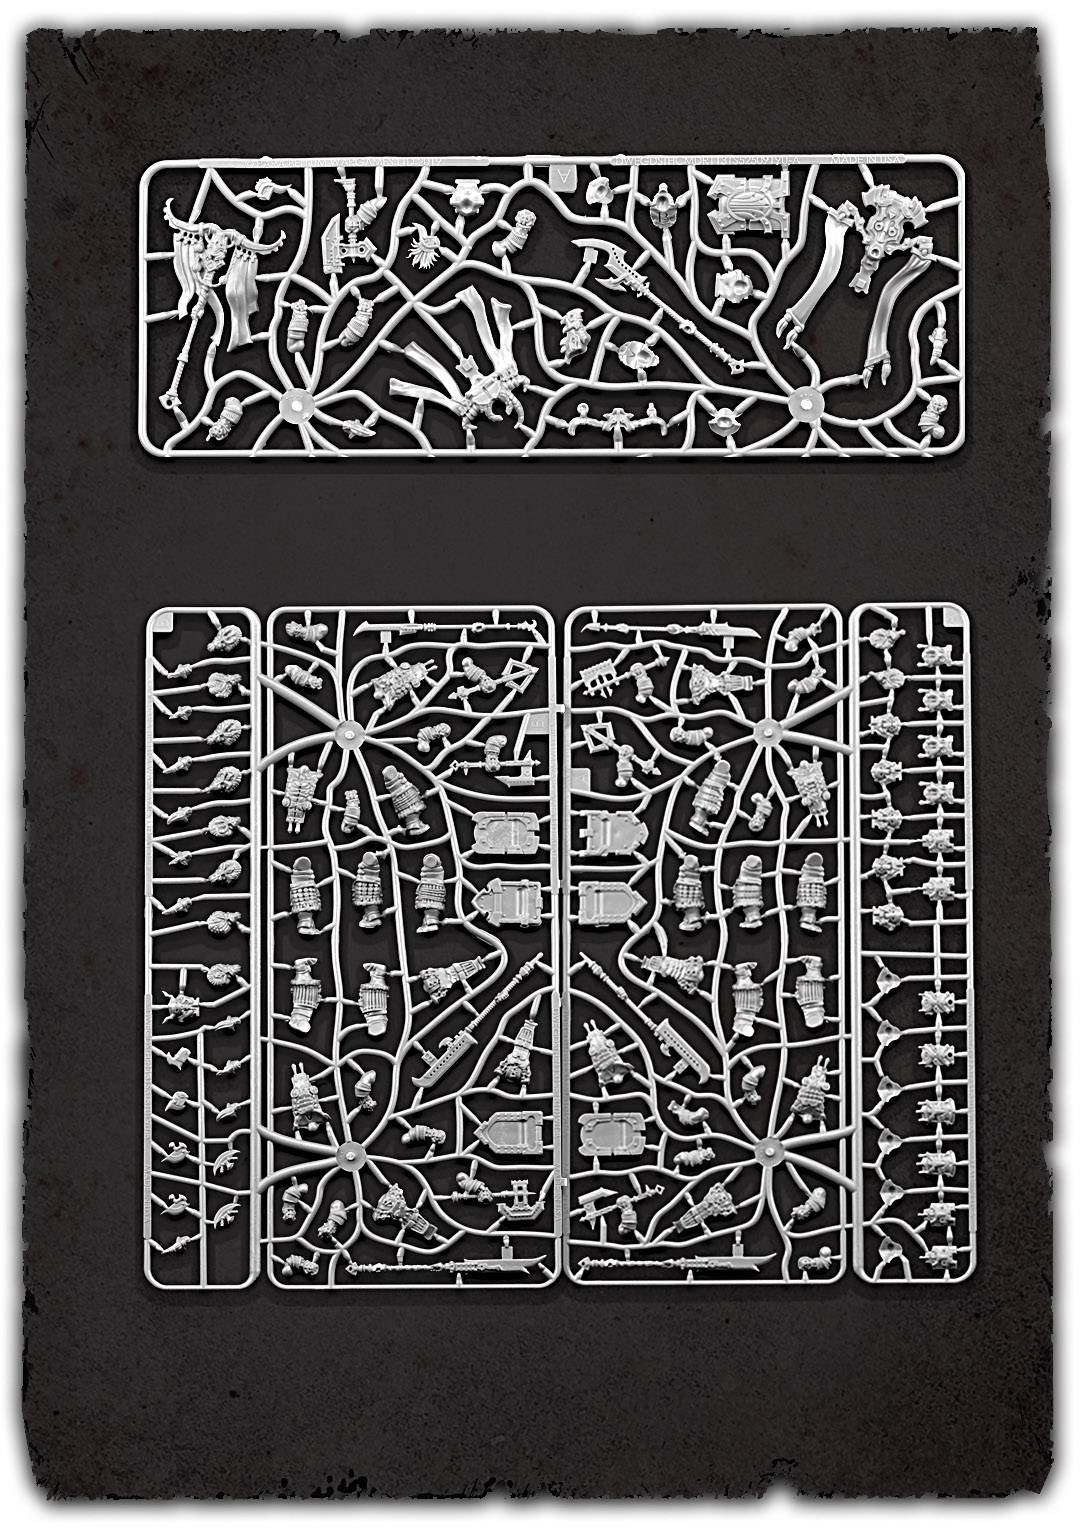
A selection of spires.
SEND IN THE ROBOTS
But after weeks of further computer work and countless man hours our part is ready to be cut! Fancy robotic mills, (aka CNC machines) will cut our parts and the molds will be ready in a few days! Right?
You guessed it. Er... Nope.
It turns out that there is an inverse relation between the level of detail you want in a part and the amount of time it takes to cut it. As the detail becomes finer and finer, so do the drills. That means that less and less material is removed. Roughly eighty percent of the mould’s volume can be finished in a few days. The following ten percent will take almost quadruple that time. The next five percent might take quadruple that again and the final five percent of material removal – which represents the finest details and crisp finish all sculptors like – could take as long as a month. All in all, steel cutting tends to take anywhere from three to eight weeks for each mould.
CONCLUSION
So that’s what it takes to make a Para Bellum miniature: I guess, in the last few years, we’ve come a long way from greenstuff putty. I strongly suggest that you take a look at their phenomenal range at para-bellum.com: they are well worth a visit. Ed. ■

This article originally appeared in Issue 444 of Miniature Wargames. Pick up the latest issue here or subscribe to make sure you never miss another issue.
Sometimes we may include links to online retailers, from which we might receive a commission if you make a purchase. Affiliate links do not influence editorial coverage and will only be used when covering relevant products
Comments
Login or register to add a comment
No comments