


01 March 2019
|
 Hobby tips: how to pin metal miniatures
Drilling down to it
One of the downsides of metal miniatures is that the bond between two metal components can often be quite brittle, especially if you’re using superglue. In a previous article I’d mentioned the process of ‘pinning’ a miniature, and wanted to provide a quick tutorial on how to do this. Pinning is a very straightforward process of strengthening the connection between two metal parts by way of a piece of wire, which acts as a support beam of sorts. The basic method revolves around drilling a hole in each component, inserting the wire between them, and then supergluing the pieces together. The end result is a miniature that can survive far more bangs and bumps and still remain intact.
You'll need:
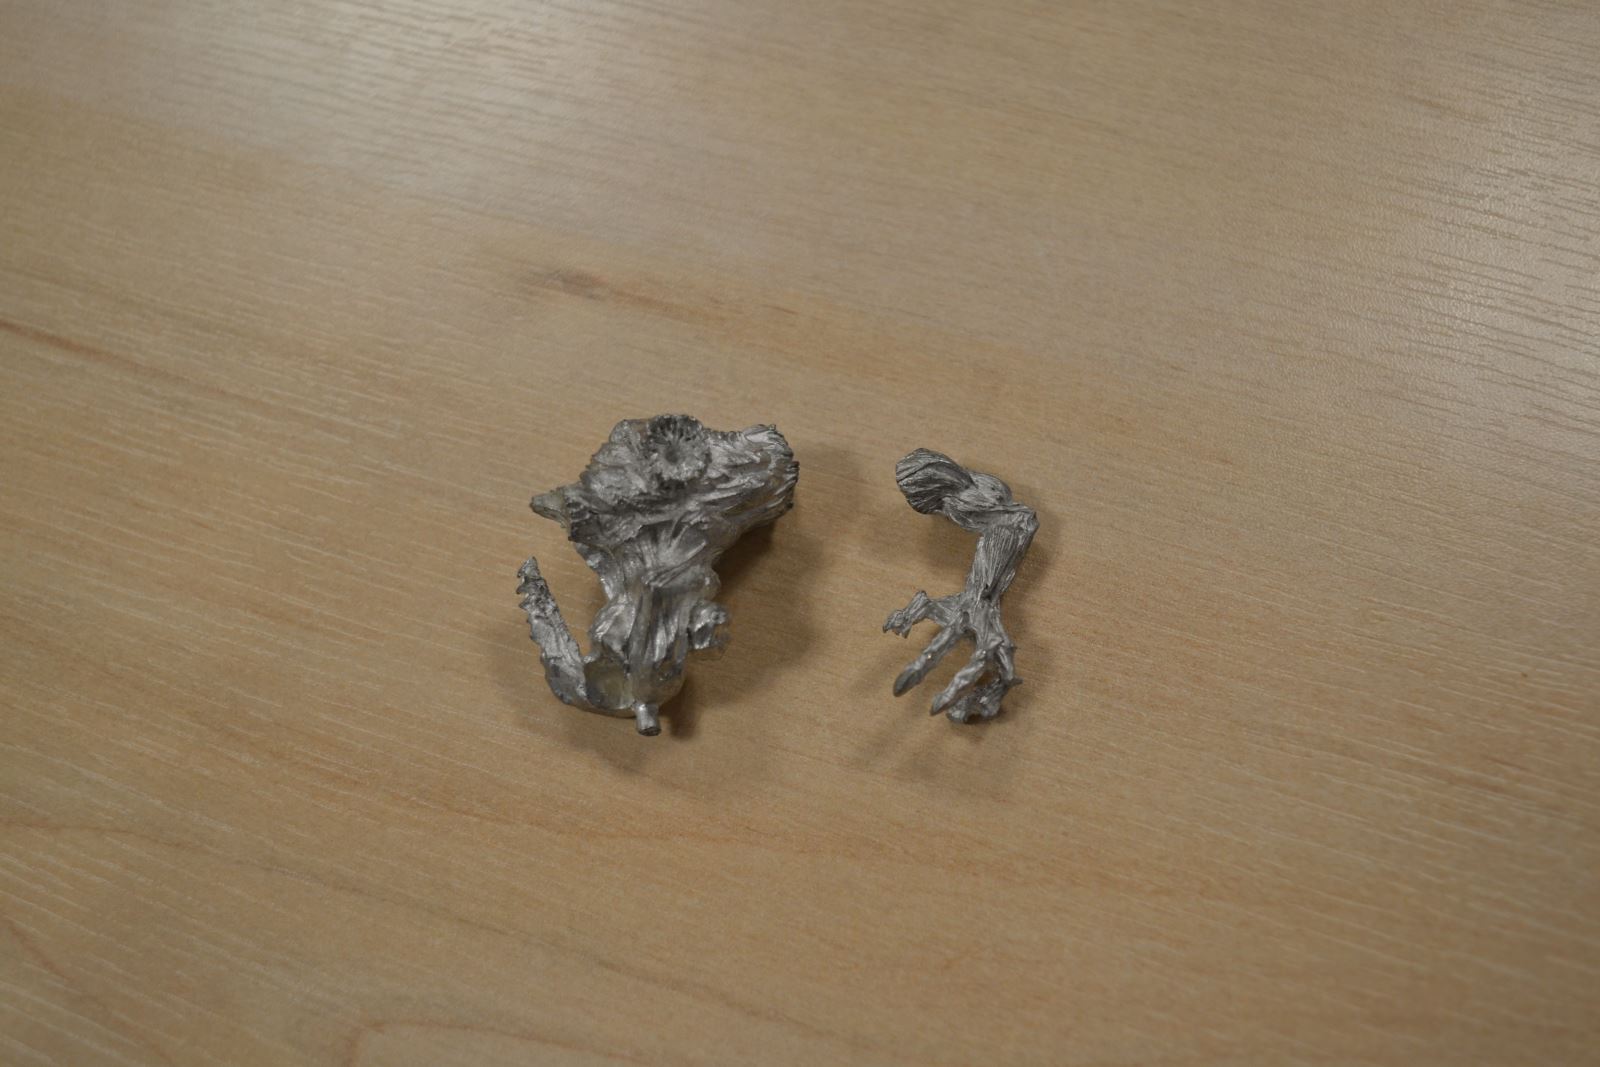
A mini! In this tutorial, I've used two parts of an old Warhammer Chas Spawn, which make up the body and one of the arms.
.JPG)
Wire. This is just common garden wire that can be brought at most DIY stores. Since the amount of wire you need for a given miniature is so small, one packet will usually last years and years, depending on how many miniatures you’re pinning.

Clippers and a hobby drill. A number of companies sell hobby drills, and you can often find one in your friendly local gaming store as well. The drill bit size used in this tutorial is 1.0mm – the standard size that most hobby drills come with. You'll also need some good quality superglue.
How to:
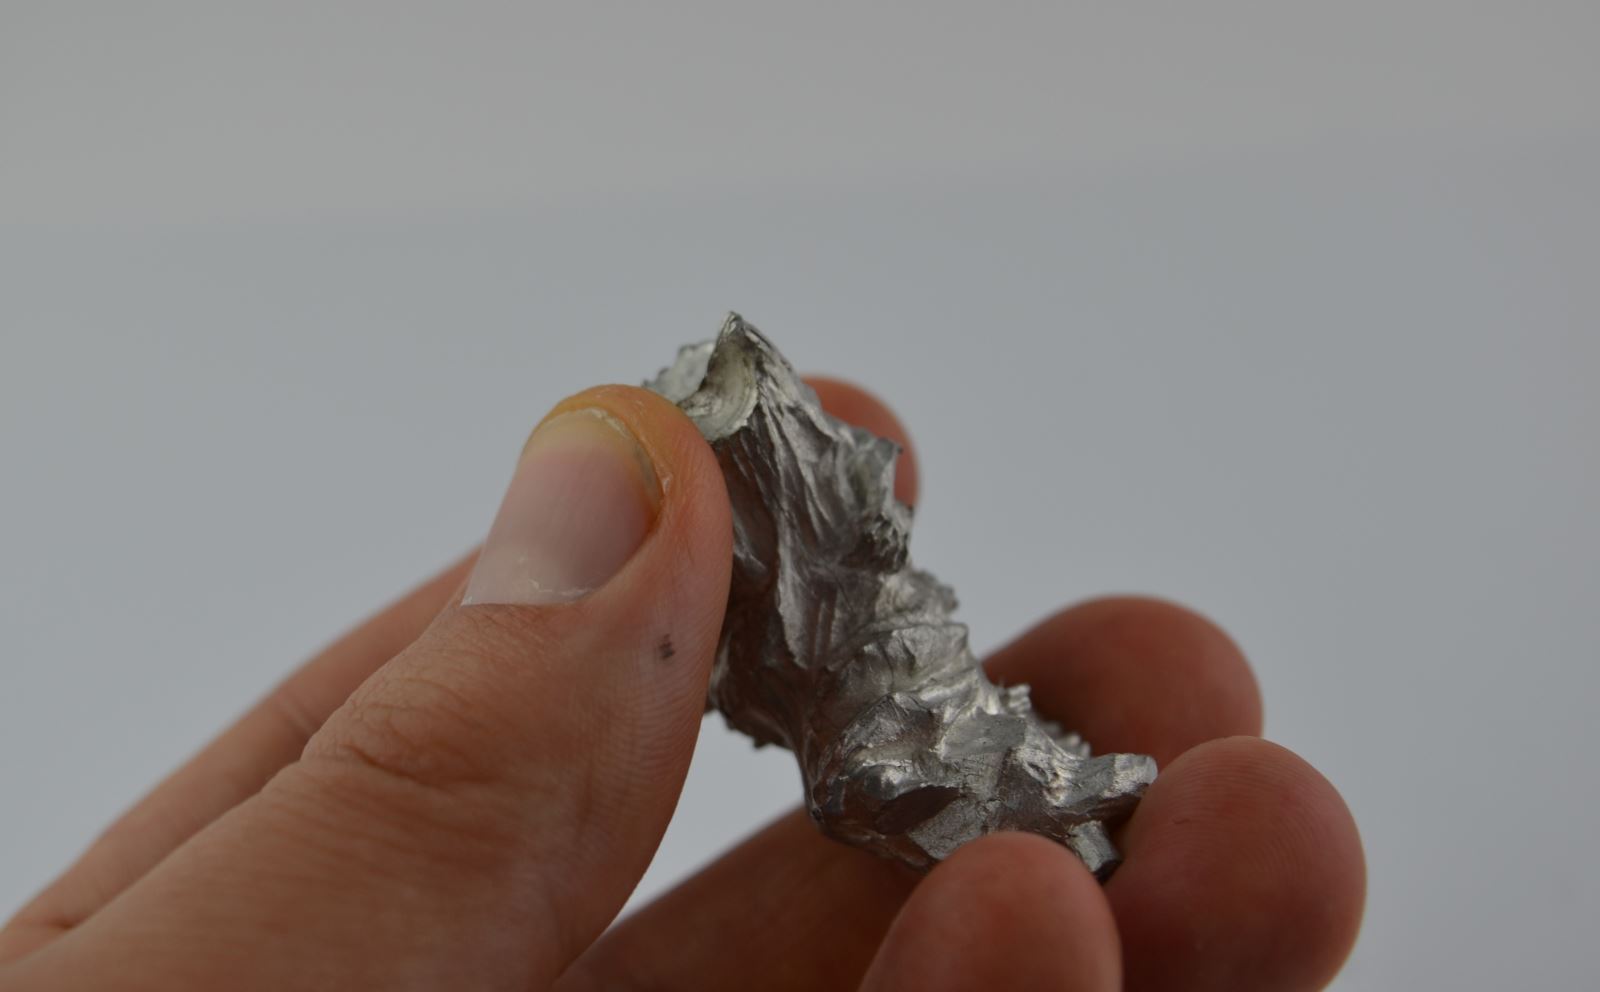
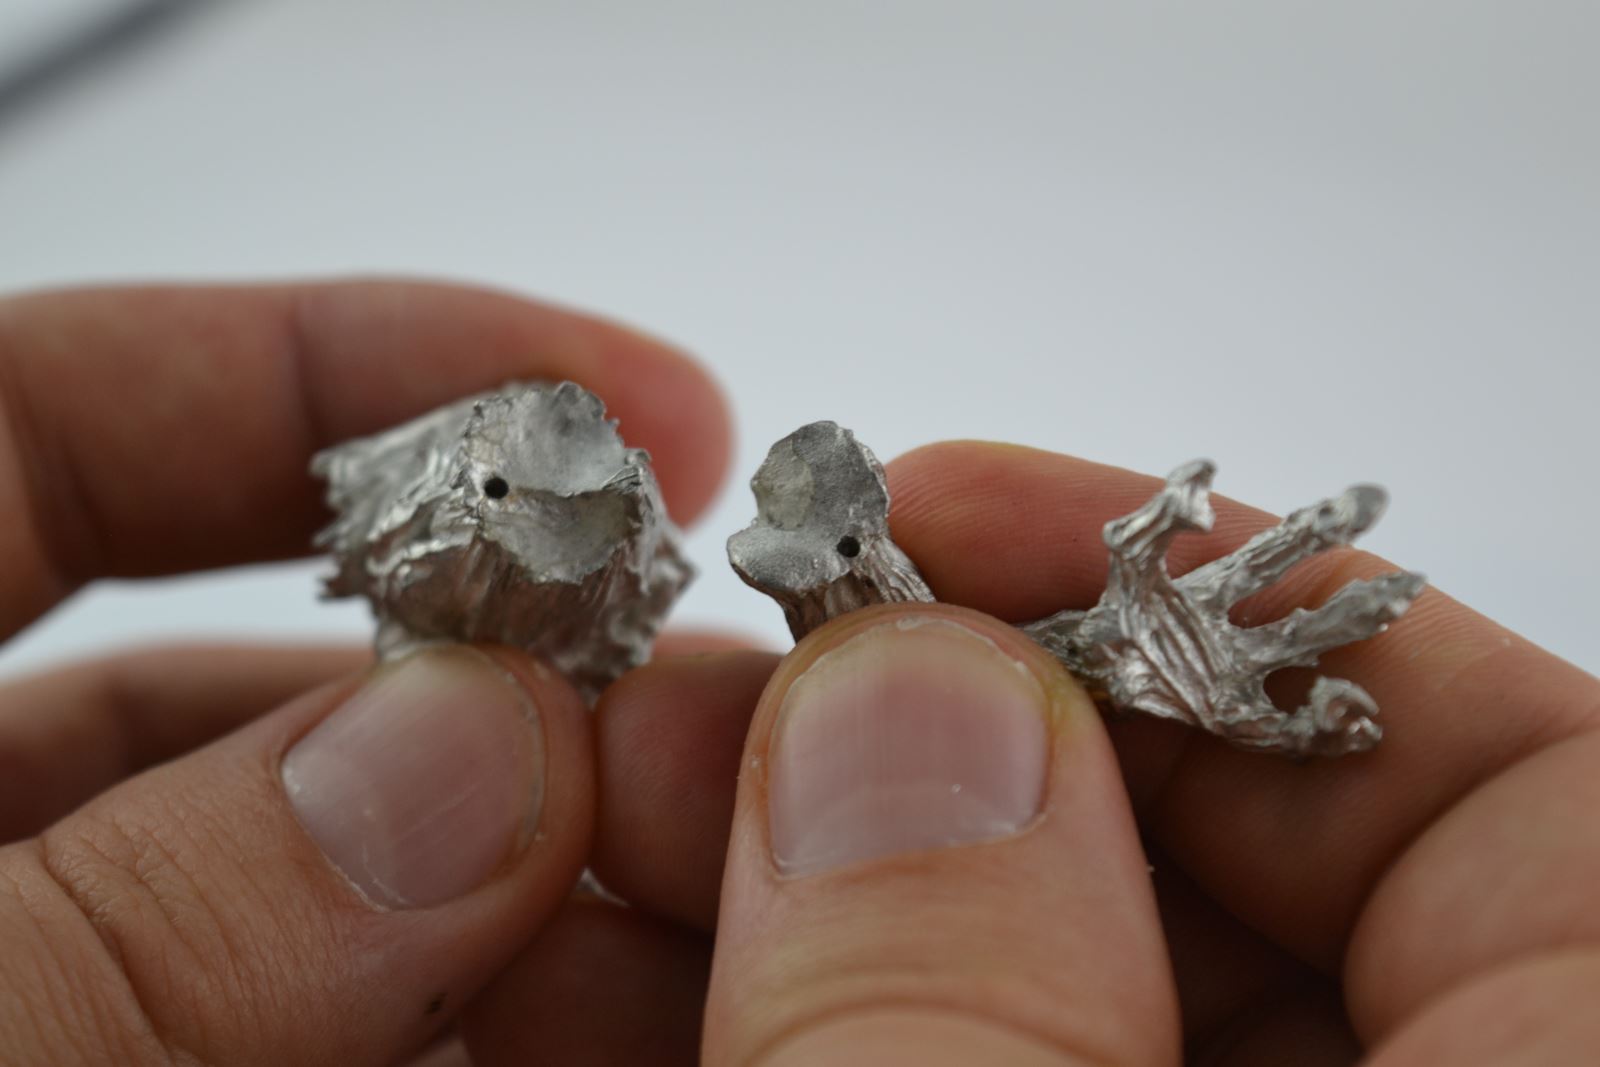
The first step is to work out which part of the mini you’ll need to drill. The main thing to consider is that wherever you drill, you’ll have to match up the correlating hole on the other component. It’s therefore important to choose a place that you think will be an easy reference point for when it comes to the second piece. The connection point for the arm and the body on this Spawn, for example, isn't flat but ridged. By choosing to put the hole at the bottom of this ridge, I can more easily see where the second hole needs to be when drilling it.

When you’ve worked out where to drill, keep the arm holding the miniature propped against your table or workspace and start drilling with the other hand. Most metal miniatures these days are made of pewter; though you’ll need to apply pressure to get make some headway, the material’s still soft enough to get the results you want. When you’ve drilled the first hole, move onto the second. Making sure both holes are lined up is essential for a good fit, so just check the location before drilling. What I usually do is slowly put the two pieces together and try to eyeball where the metal rod will go, then drill there. A method that has worked for other people (not shown here) is to put a piece of wire in the first hole and put a blob of paint at the end. Then try to put the other piece on top and you’ll end up with a small bit of paint on it, indicating where the hole should go. I’ve found this too inconvenient in the past, but it might work for you.
When you’ve drilled your second hole, you can then clip off a piece of wire. It really doesn’t have to be the right size, but go for too long than too short, as you can subsequently shorten the wire down to the appropriate length.
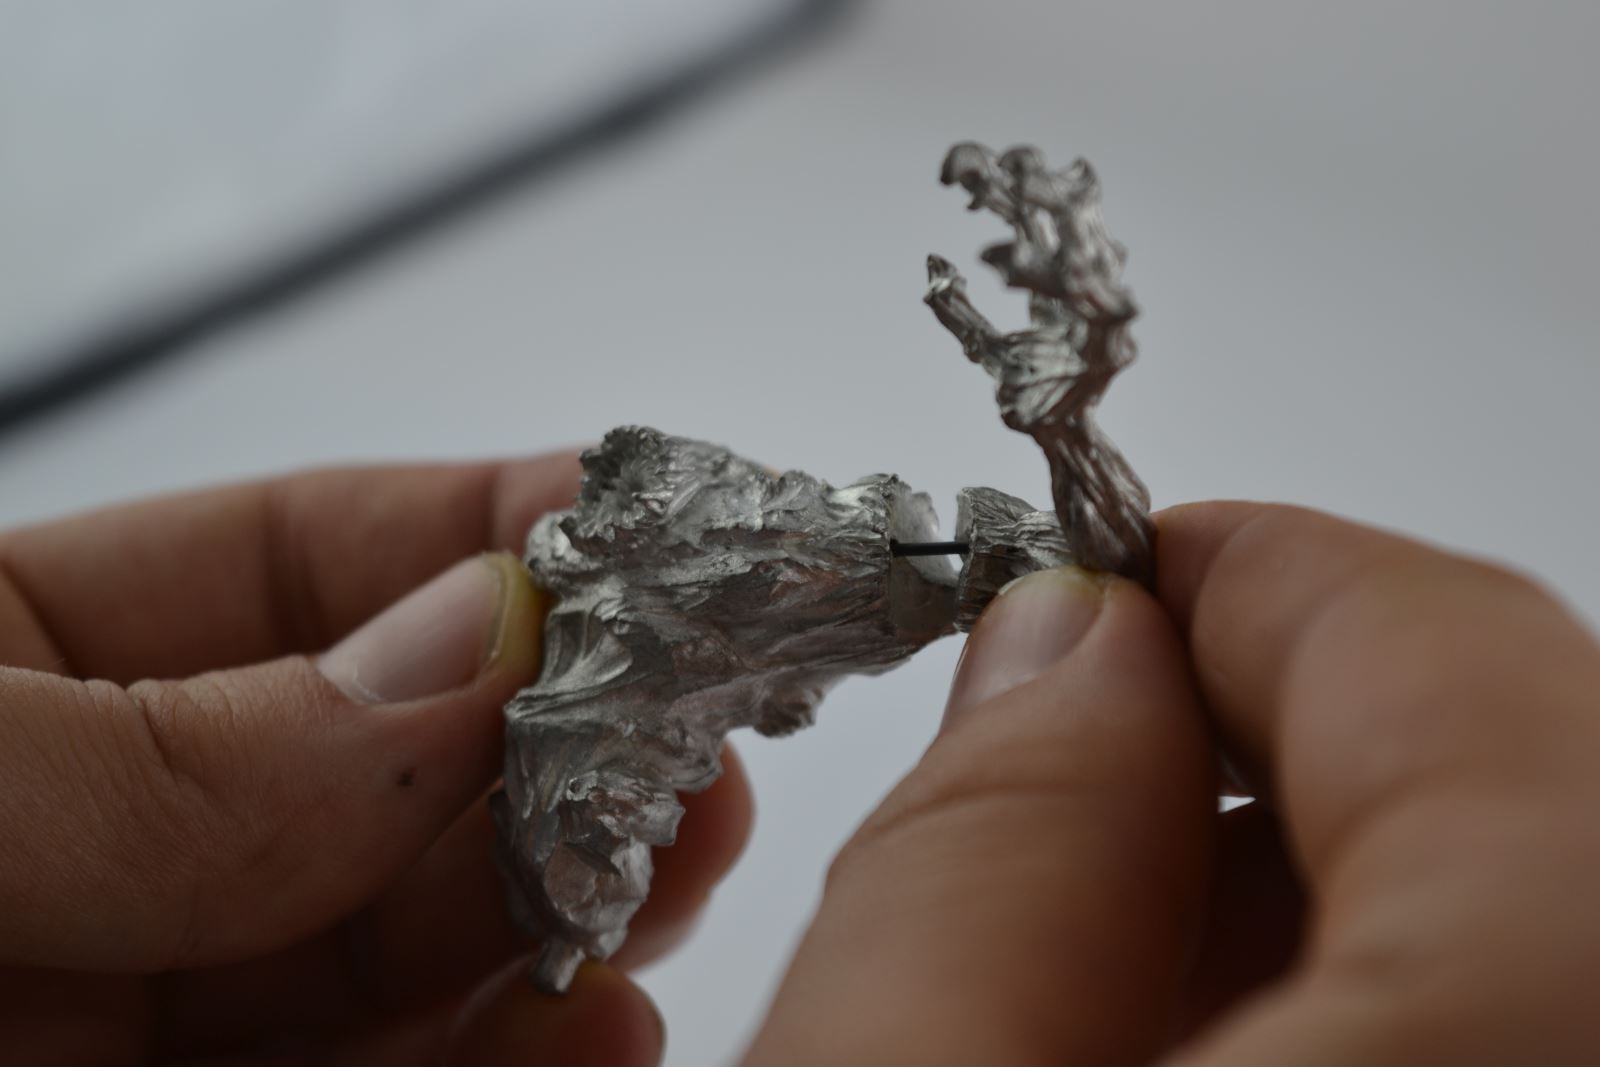
I’ve done a dry fit of the wire here and put it into the body without superglue. I’ve then fit the other section onto it; as you can see, the wire is too long.

I’ve cut the wire down to an appropriate length, and the wire now fits in both holes. Only at this point do I do the supergluing. First, dip one half of the wire into some superglue and then slot it into the first hole. You’ll need to do this quickly and firmly (you may even need to tap the wire into the hole by banging it gently against a flat surface) because sometimes the glue can stick before the wire is fully in.

When the wire is in, coat the remaining protruding half and the rest of the area to be glued with superglue. Attach the other half and voila! I’ve done a dry fit here, but you should end up with two halves that fit together snugly. Any remaining gaps can then be filled with epoxy putty, something I’ll be covering in a later post.
Comments
Login or register to add a comment
No comments