


23 April 2024
|

The tips you need to easily build your wargaming miniatures from sprues – with a little help from Star Wars: Shatterpoint's Darth Vader!
Written by Rob Burman
Sometimes you may read a review of a miniatures game like Star Wars: Shatterpoint or Underworlds and think they sound like fun. However, the thought of having to put together all those minis completely puts you off. After all, being confronted with dozens of tiny little plastic pieces can seem a daunting prospect, as is the idea of glueing yourself to the table.
But building miniatures can be an easy prospect if you take your time and use the correct tools. In this beginner's guide, we take you through the absolute basics, as we build Darth Vader from the recently released Fear and Dead Men Squad Pack for Shatterpoint. Of course, every miniature is slightly different - and some will be more complex than others - but these tips will set you on the road to modelling success.
1. Assemble Your Tools
First up, get your tools ready. You'll need a decent set of clippers with a nice flat edge on them and a hobby knife or mould line remover. There are plenty of options out there but, especially for the clippers, the more expensive ones tend to be slightly sharper and cut cleaner.

You can pick them up on Amazon easily, here's a cutter, knife, and mat.
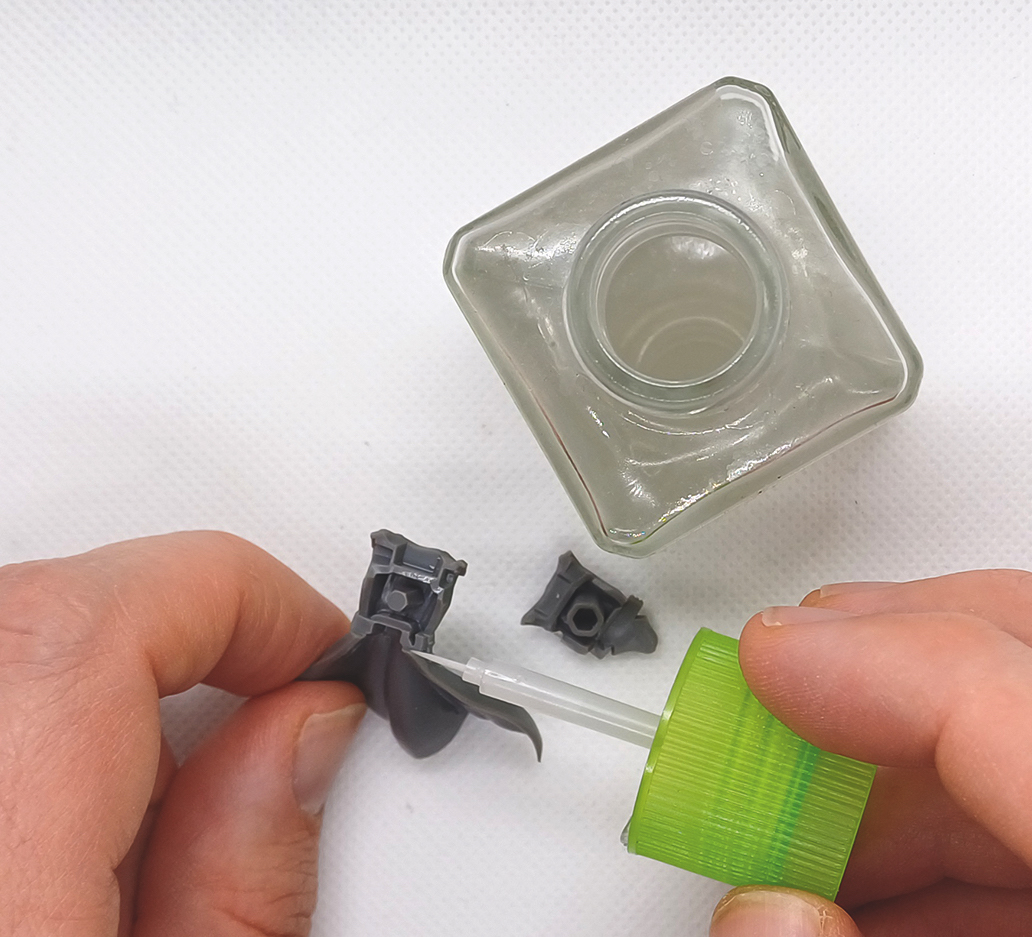
Next, it's time to get your glue. If you're building hard plastic miniatures - like those found in Shatterpoint or most Games Workshop products - it's best to use something called plastic cement. This is slightly different to standard glue, as it melts the plastic to form the bond. Of course, glue often comes down to personal choice but we like using Tamiya Extra Thin Cement. It comes with a tiny brush inside, so you can easily control how much you apply and doesn't have a nozzle that gets clogged up.

As an aside, plastic cement only works on hard plastic miniatures. If you're building PVC miniatures - sometimes used by companies like Mantic Games - or resin, like the miniatures sold by Forge World, you'll need standard super glue. There are loads of different varieties out there, so choose the one you prefer.

Both are available on Amazon, the Tamiya Cement and the Gorilla Super Glue.
2. Check What You've Got
Typically hard plastic miniatures will come on a sprue like this… but don't start snipping everything off just yet. The majority of hard plastic miniatures come with instructions you need to follow and the pieces will be numbered. Cutting everything off now can make it a little tricky if there are lots of parts and you don't know what number they are.

3. Start Cutting
Right, now it's time to get cracking. When cutting off the pieces from the sprue, make sure you place the flat edge of the clippers as close as possible to the piece you're cutting off. This will reduce the amount of leftover plastic on the models once it's removed.

Even with the sharpest clippers, it's likely you'll still have a little bit of clean up to do. Here on the bottom of Darth Vader's cape you can see two small remnants of plastic from the sprue join. To clean these off you can either use a hobby knife or mold line remover. Simply scrape the tool gently against the plastic until the excess is removed. You'll need to be careful when using a hobby knife not to accidentally press too hard and cut into the model. In fact, you can always use the flat edge of the blade to avoid this problem.

4. Assemble
With the pieces cleaned up, it's time to start assembly… but don't reach for the glue just yet! It's important to 'dry fit' them first. This means lining them up and getting a sense of how they fit together before putting any glue on. It's important to do this so you don't glue them into the wrong place!
Apply the glue in the areas that have the best connection points and make sure you only use a small amount. With the Tamiya plastic cement, you can carefully apply the glue with the brush, which makes it easier to distribute in the correct places. If you're using a nozzle, only squeeze a small amount out the top.
Hold the pieces for a few seconds to make sure they're stuck together properly. Because plastic cement doesn't immediately stick the bits - instead it melts the plastic - you'll have a few seconds to reposition, if you need to.

Keep a paper towel close by to mop up any excess glue - otherwise it could ooze out of the gaps between the parts and create unsightly blobs.
Depending upon the miniature you're building, it can be a good idea to glue it onto the base once the legs are attached. This will make it more stable if you need to leave the glue to dry for a moment and stops you having to hold it constantly.
5. Finesse
Occasionally, despite your best efforts, you will be left with slight gaps between the parts - as seen here between the arm and shoulder. This can sometimes be fixed by applying a little more plastic cement and squeezing the bits together, as the plastic will melt and cover the joint. If not, you can use something like Liquid Green Stuff or plastic putty to fill the gap. Place a little bit of the putty on your hobby knife and spread it into the gap, then clean off the excess with a paper towel.
Related article: Gap filling with Magic Sculp

Here you can see we've used plastic putty on both the arms - it's the white residue between the joins. Once you've primed the miniature though, these areas will be covered up and you can paint over them.
Related article: More tips – how to strip paint and varnish from your miniatures.
Before you know it, you'll have a completed miniature that's ready for battle or to hit the painting table.

The main thing to remember when building any miniature is to take your time and be patient. Yes, some pieces may be a little fiddly and frustrating but if you follow the tips here and don't rush, you'll find even the most complicated model can be assembled with ease. Of course, painting them is a whole different challenge but can be equally enjoyable!
Related Article: Why should you paint your miniatures?
Sometimes we may include links to online retailers, from which we might receive a commission if you make a purchase. Affiliate links do not influence editorial coverage and will only be used when covering relevant products
Comments
Login or register to add a comment
No comments